
How to Embroider Freestanding Lace (FSL)
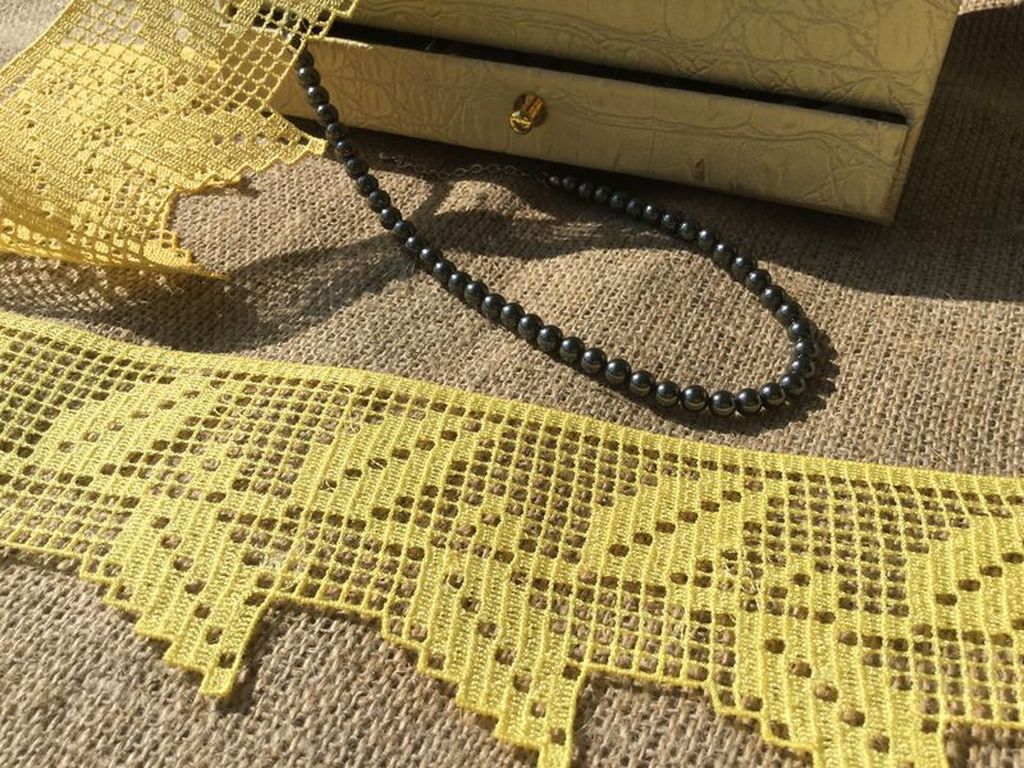
Freestanding lace, or FSL, is one of my favorite machine embroidery techniques.
Unlike regular embroidery, FSL is not stitched onto fabric. Instead, the design is embroidered directly onto a water-soluble stabilizer. Once the stabilizer is washed away, only the embroidered thread remains, creating a delicate piece of lace that can stand on its own.
The possibilities are surprisingly wide. You can use FSL to create lace ornaments, doilies, jewelry, accessories, decorative trims and other delicate designs.
I have also used freestanding lace to decorate clothing — adding lace to shirts, creating collars and cuffs, and even embellishing shoes.
The technique may look complicated, but the basic process is actually quite simple. The key is using the right materials and choosing a design that has been specifically digitized for freestanding lace.
Let me show you how I do it.
Want to try FSL? Get the Free Sampler →
What You Need for FSL Embroidery
You don’t need a lot of special equipment to get started with freestanding lace.
You’ll need:
Let’s take a closer look at each one.
Embroidery Thread
I don’t have one single favorite thread for FSL. I have used both polyester and rayon embroidery thread, and each can give a slightly different result.

Polyester Thread
Polyester is a particularly practical choice for FSL. It is strong and works well for intricate designs with many small details and connections.
It also produces a fine, web-like lace structure, which is exactly what you want for many FSL designs.
Rayon Thread
Rayon can also be used for freestanding lace. It has a beautiful sheen and can give the finished piece a softer, more decorative appearance.
However, in my experience, rayon can be less suitable for pieces that need to hold their shape firmly. I especially like using it when I want a softer, more textile-like effect.

Cotton Thread
You can also create FSL with cotton thread.
Cotton gives the finished piece a more matte, natural appearance and can make the lace look a little more handmade.
For FSL, I prefer a relatively fine machine-quilting cotton thread when I want a slightly fuller, more textile-like lace.
As a general rule, the finer the thread, the finer and more delicate the finished lace will look.
I’ve used cotton when I want the natural look of cotton on a clothing or home-textile project.
Cotton thread can give FSL a softer, more natural, textile-like appearance.
Use the Same Thread in the Bobbin
Because freestanding lace is visible from both sides, I recommend winding your bobbin with the same thread you use on top.
This gives the front and back a consistent appearance and is especially important when the back of the lace will be visible.
Water-Soluble Stabilizer
Water-soluble stabilizer is the foundation of FSL embroidery.
There are several types available, and they don’t all behave the same way.
For freestanding lace, I prefer a water-soluble mesh stabilizer — the type that feels more like a lightweight fabric than a transparent plastic film.
One type I have used is Vilene D0102, a non-woven water-soluble stabilizer. Depending on where you live, similar products may be sold under different brand names, including Fabri-Solvy by Sulky, Avalon Plus by Madeira, Wash-Away and Aqua Magic.
The exact product available to you will depend on your country and supplier.
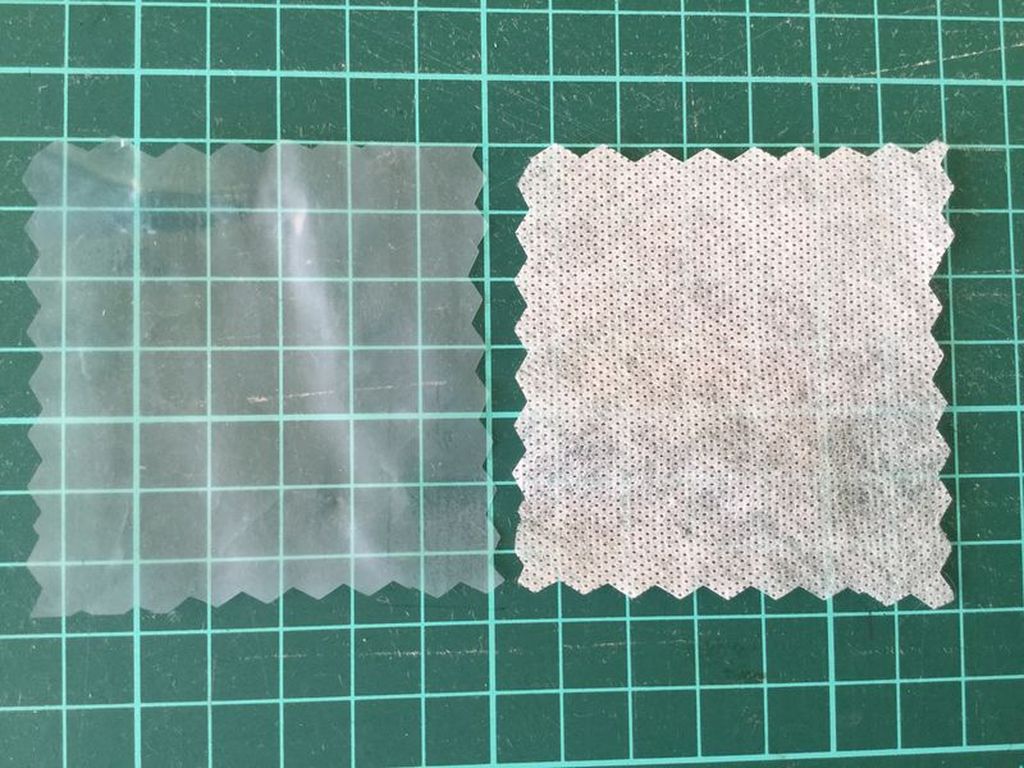
There are also film-type water-soluble stabilizers, such as Solvy by Sulky, Avalon by Madeira and Badge Master.
I don’t normally use film alone as the main stabilizer for FSL because I find mesh more suitable for supporting the dense stitching of lace designs. However, film can be useful as an additional layer when extra stability is needed.
For a new FSL project, always follow the recommendations for the specific design and stabilizer you are using.
What About the Embroidery Foot?
If your embroidery machine came with a special embroidery foot, often called a Q foot, I recommend using it.
The regular embroidery foot that comes with your machine can also be suitable, depending on your machine and its instructions.

The most important thing is that your machine is properly set up for embroidery and that the hoop can move freely.
Choose the Right FSL Design
This is one of the most important parts. Not every embroidery design can be turned into freestanding lace.
An FSL design needs to be digitized specifically for the technique. The stitches must create enough connections to hold the finished piece together once the stabilizer has been removed.
A design that looks beautiful when stitched onto fabric may simply fall apart when the stabilizer is washed away.
So always choose a design specifically created for freestanding lace.
How to Embroider Freestanding Lace
Now let’s get to the fun part.
1. Prepare the Stabilizer
Place the water-soluble stabilizer in your embroidery hoop.
Make sure it is tight, flat and securely hooped. You don’t want wrinkles or loose areas that can move during stitching.

I use two layers of water-soluble mesh for this project.
If your stabilizer is relatively lightweight, using two layers can provide additional support for dense FSL designs.
2. Attach the Embroidery Foot
Attach your embroidery foot — the Q foot, if your machine uses one.
Then place the hoop into the embroidery machine and make sure it is securely attached.
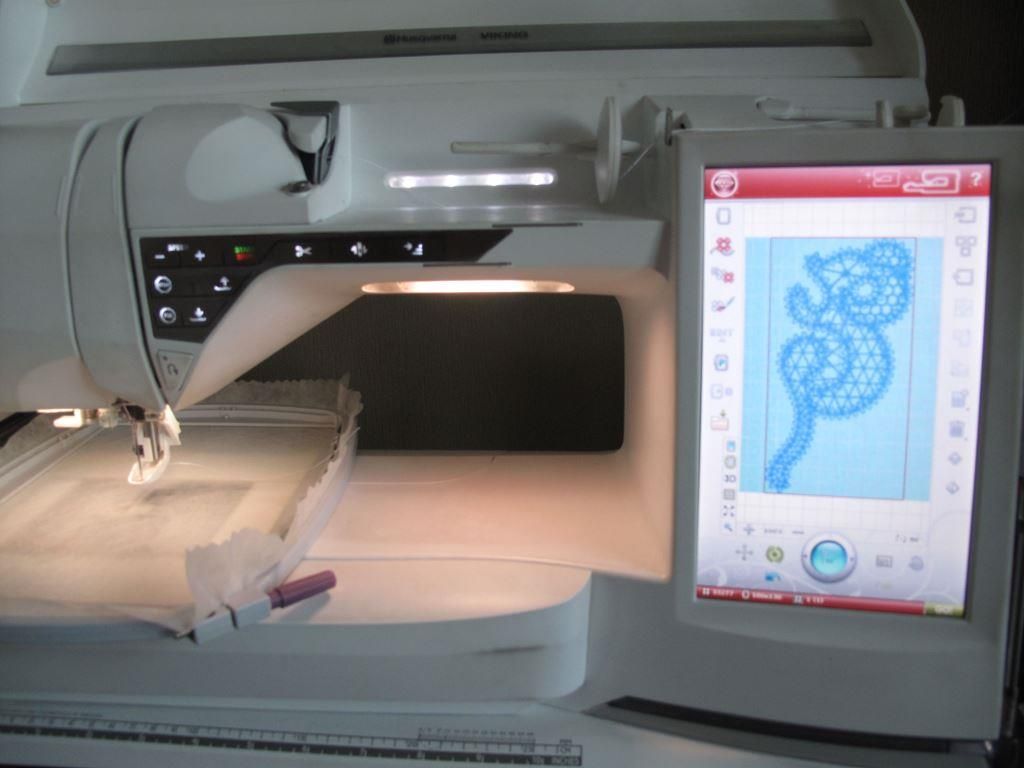
Before starting, check that the hoop has enough clearance to move freely.
3. Start the Embroidery
Place your spool of thread on your thread stand or thread holder and begin stitching.
I usually let the machine stitch a few initial stitches and then pause.

At this point, I trim the starting thread close to the stitching so that it doesn’t get caught in the design.
Then I restart the machine and watch the first part of the embroidery carefully.
This is a good habit with any new design: don’t simply walk away from the machine immediately. Watch for thread breaks, unusual noises, shifting stabilizer or anything else that doesn’t look right.

Once everything is running smoothly, let the machine complete the design.
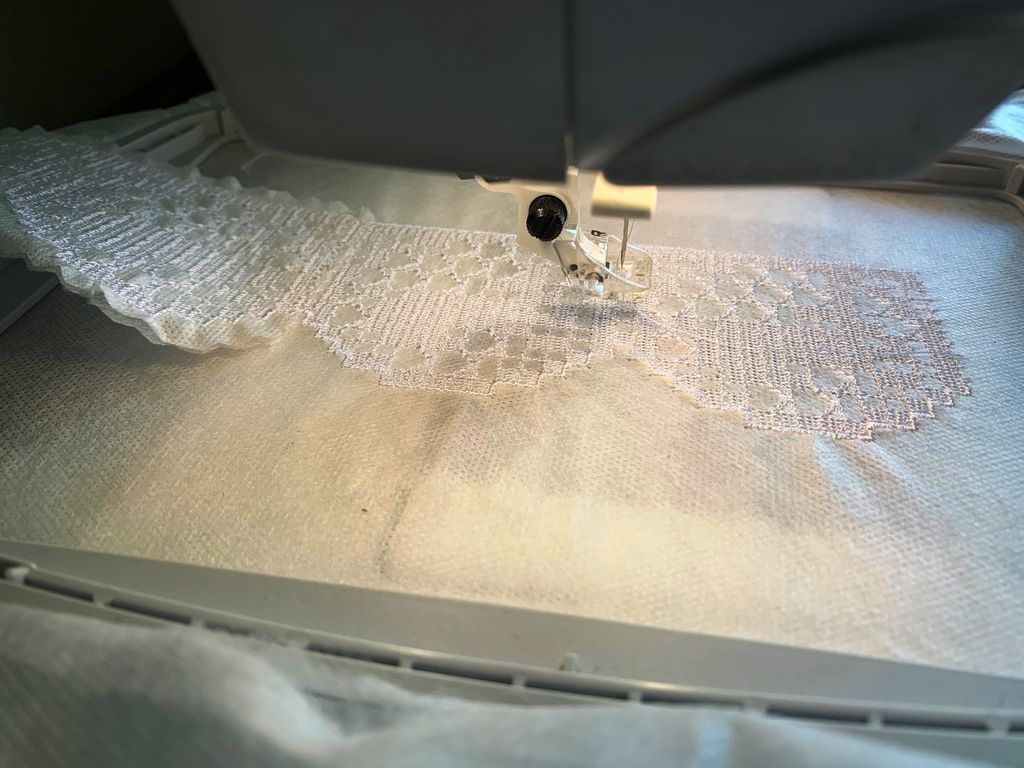
When the machine stops, take a moment to look at the finished stitching. A well-digitized FSL design should have plenty of connections between its elements, creating a stable lace structure.
4. Remove the Finished Lace from the Hoop
When the design is complete, remove the hoop from the machine.
Take the embroidery out of the hoop and carefully trim away the excess stabilizer around the design.

Be careful not to cut the embroidery itself.

At this stage, the lace will still look quite different from the finished piece because the stabilizer is holding everything together.
How to Wash Out the Stabilizer
Now comes the part that feels almost like magic.
Before washing out the stabilizer, pin the lace to a plastic place mat or another smooth, waterproof surface. Use enough pins to hold the design in its intended shape. This step is important because the lace can shrink or lose its shape while the stabilizer is being washed away.
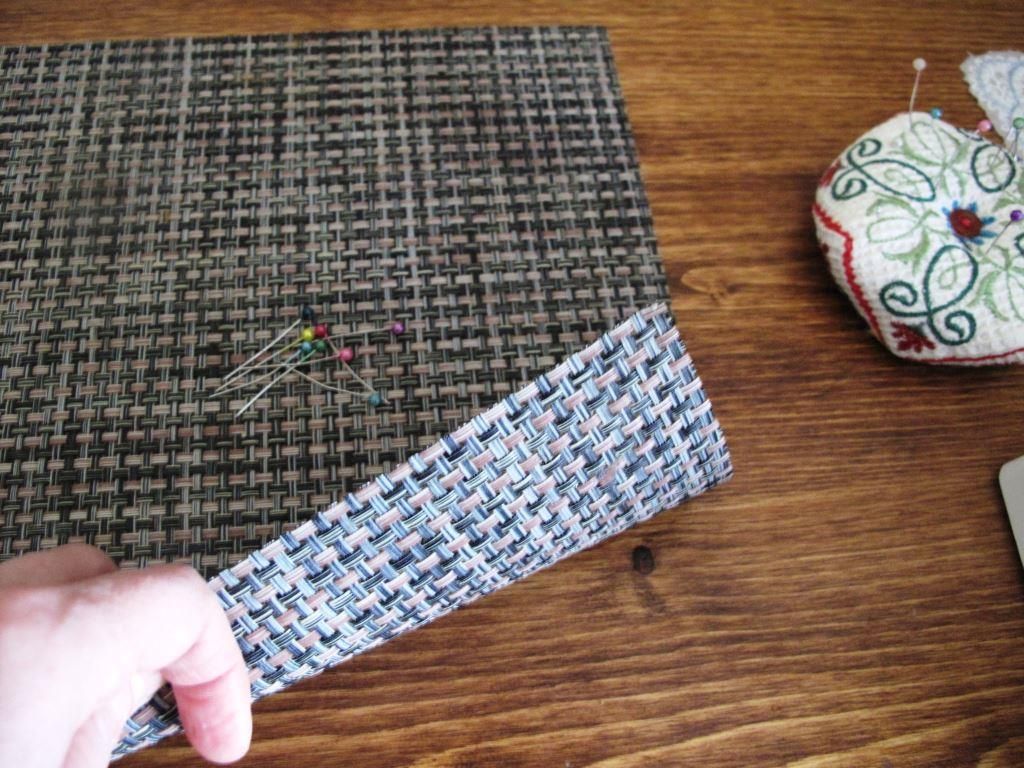

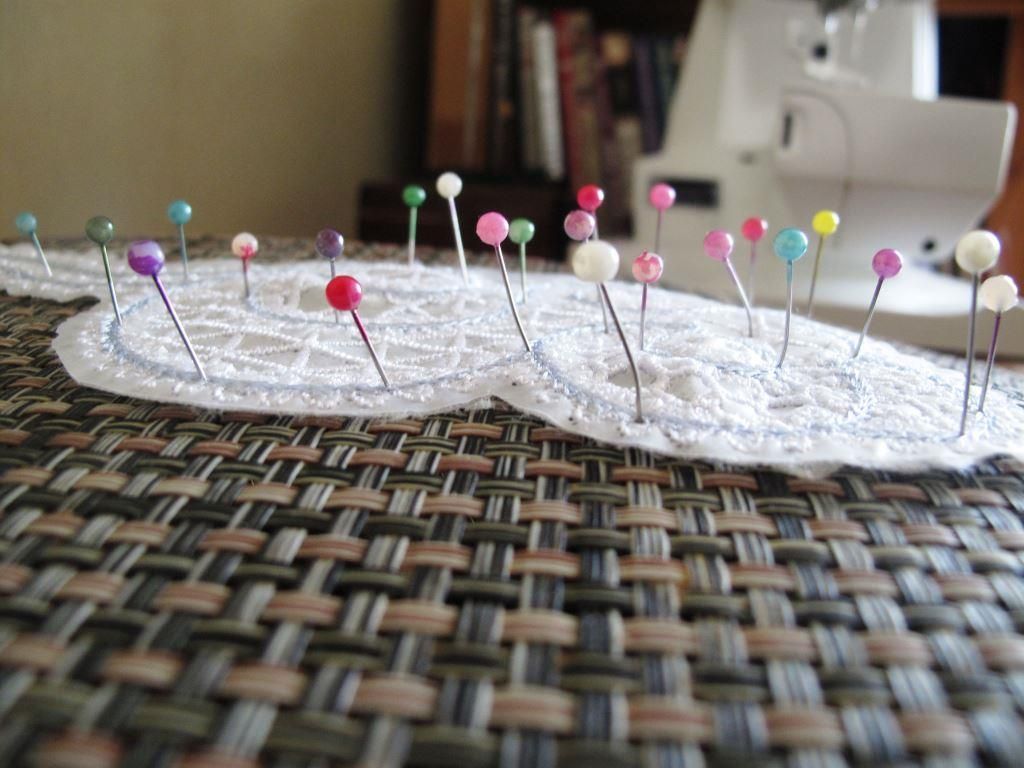
With the lace still pinned to the mat, gently rinse it in warm water to dissolve the water-soluble stabilizer. You can gently massage the lace with your fingers to help remove the remaining stabilizer, but avoid rubbing or stretching it.


Keep the lace pinned to the mat throughout the washing process. Do not remove the pins until the stabilizer has been completely washed out and the lace has dried thoroughly.
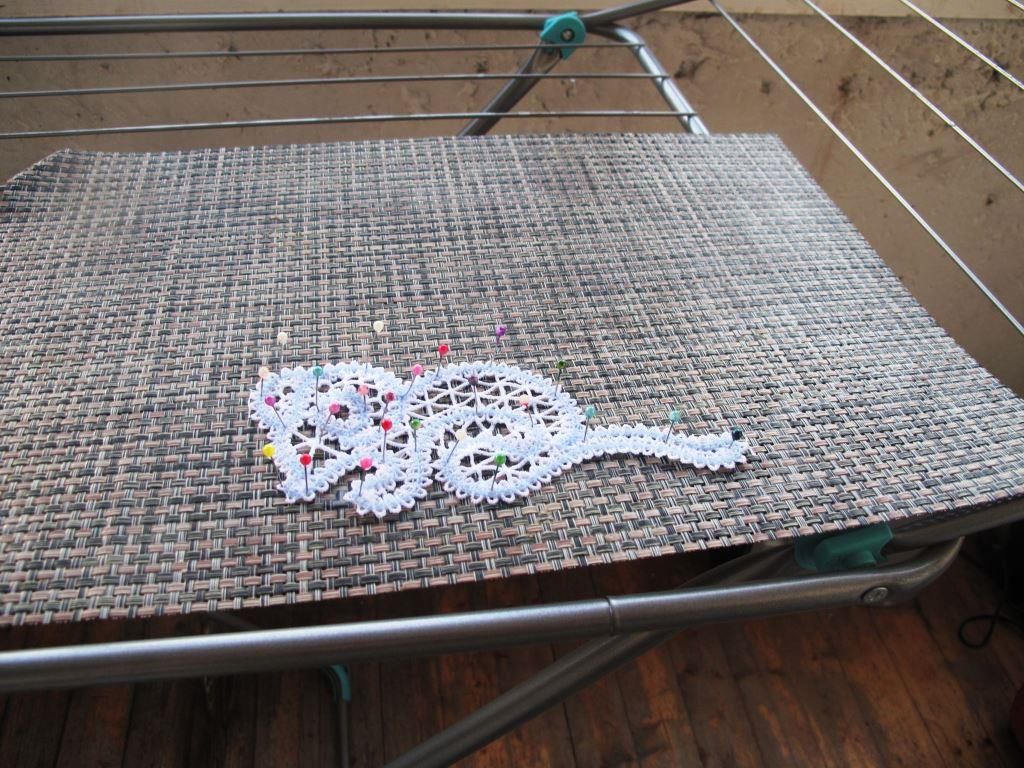

Once the lace is completely dry, carefully remove the pins. If necessary, place a protective cloth over the lace and give it a quick, gentle press at an appropriate temperature to finish shaping it.
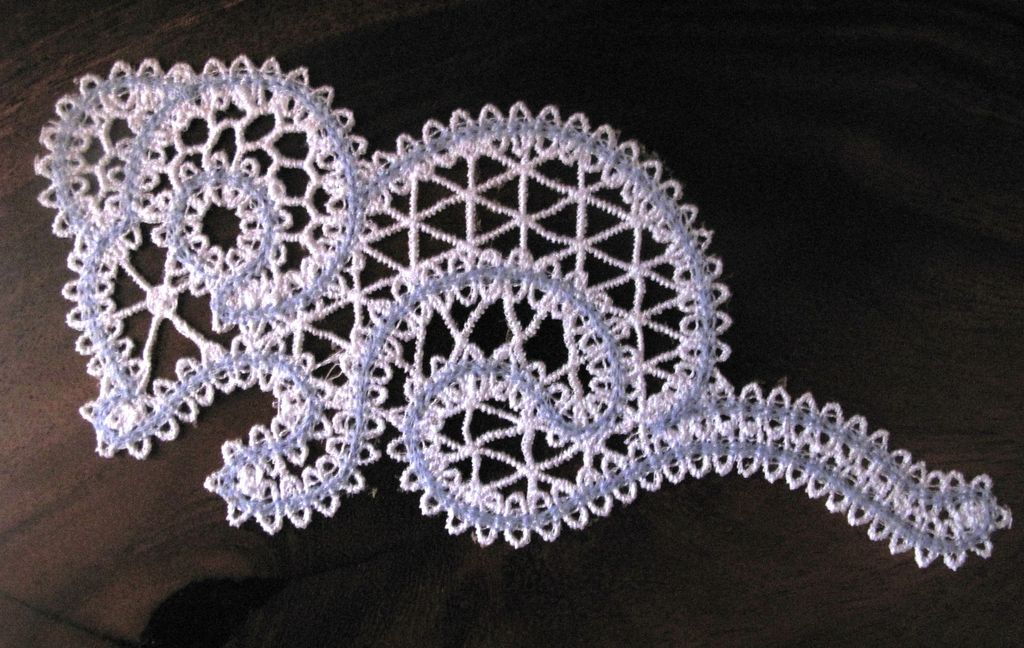
And that’s it.
Your freestanding lace is ready to use.
What Can You Make with FSL?
This is where freestanding lace gets really exciting.
Once you understand the basic technique, you’re no longer limited to one type of project.
You can create:
– Christmas ornaments
– doilies
– lace borders and edging
– jewelry
– earrings and pendants
– decorative motifs
– gift decorations
– small accessories
– clothing embellishments
– collars and cuffs
– table decorations
– home decor
– lace panels and longer pieces
One of the things I love most about FSL is that the same basic technique can produce something completely different depending on the design.
A small lace motif can become an ornament. A border can become a trim. A larger design can become a doily or a decorative centerpiece.
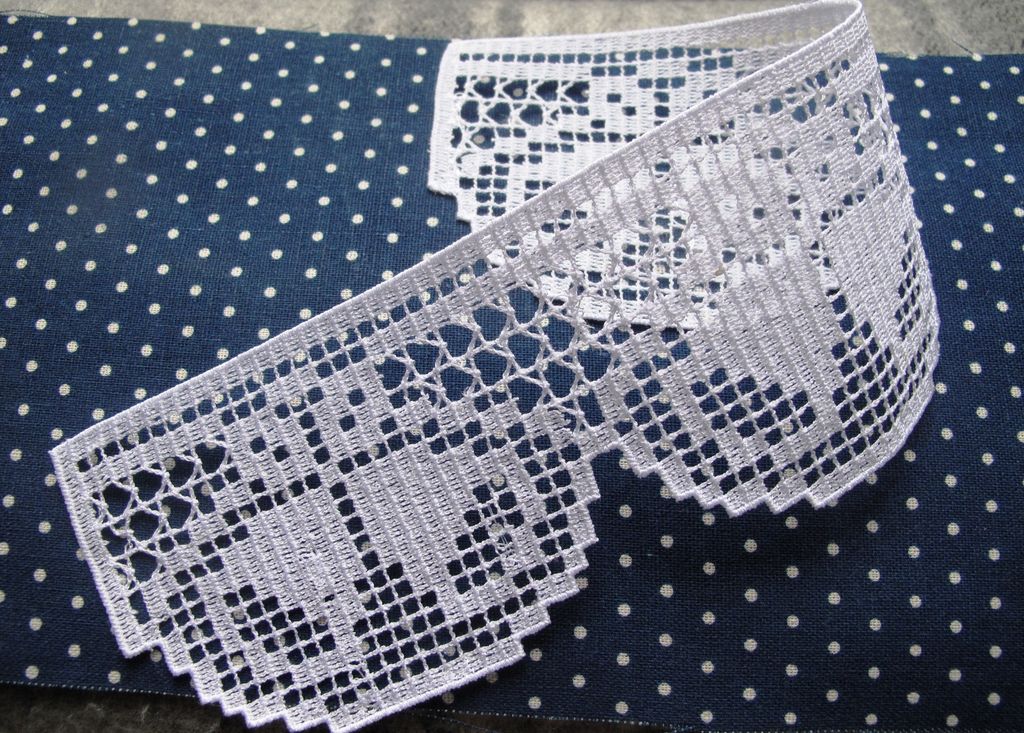
Creating Longer Pieces of FSL Lace
Your embroidery hoop naturally limits the size of a single design. But that doesn’t mean your lace has to be limited to the size of your hoop.
You can embroider separate sections and join them together to create longer lace borders, trims and decorative pieces.
Separate FSL sections can be joined to create a longer piece of lace.
I’ve created separate FSL pieces specifically for this purpose, so you can build a longer design section by section.
I also wrote a separate tutorial showing How to Join Freestanding Lace (FSL) Embroidery if you want to try making longer lace.
FSL Is Easier Than It Looks
Freestanding lace may look intricate and complicated, but once you understand the basic process, it becomes surprisingly approachable.
The machine does the stitching. Your job is to choose the right design, use the appropriate stabilizer and thread, and give the lace a little care during washing and drying.
And then comes the best part: you wash away the stabilizer — and the lace remains.
That little transformation never gets old.
If you’ve never tried FSL before, start with a relatively simple design and see what happens. You may be surprised by how quickly a few layers of thread turn into something that looks like real lace.
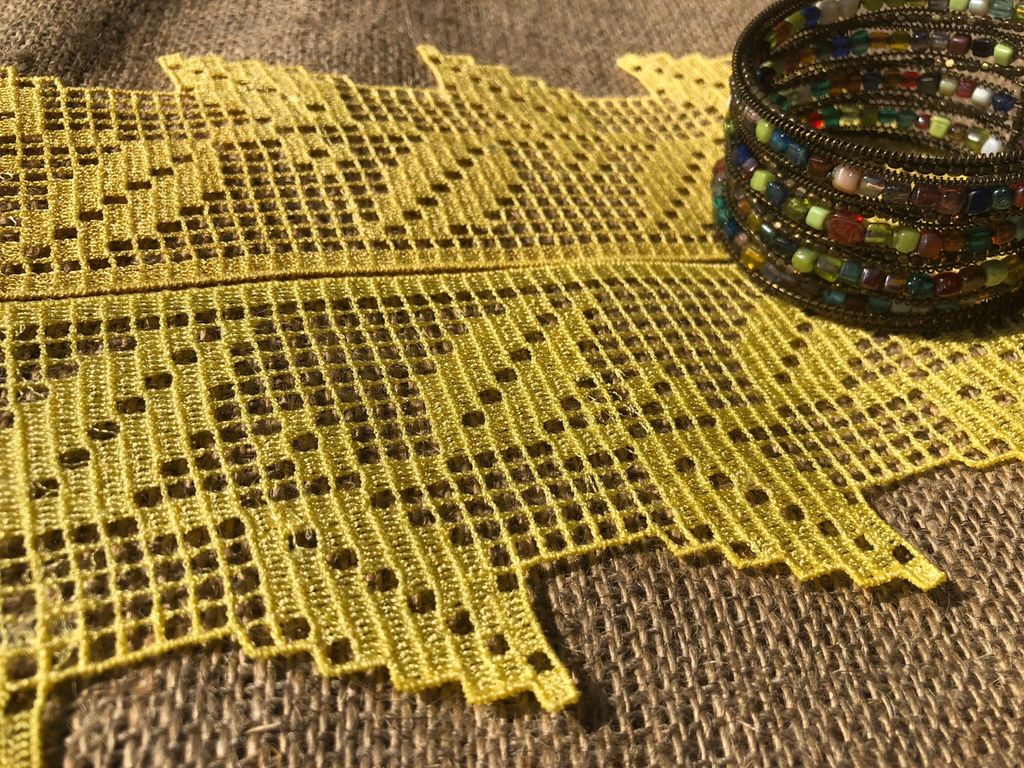
That’s the magic of freestanding lace.