
How to join Freestanding lace (FSL) embroidery
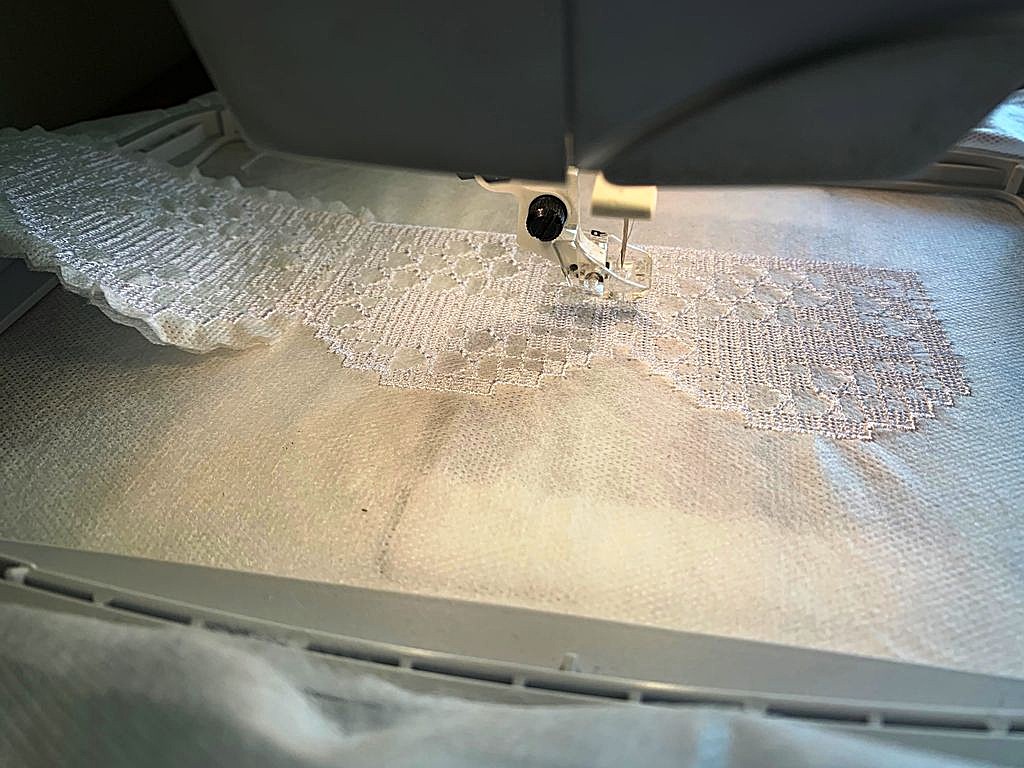
When you need a long lace border or ribbon for a textile project, the size of your embroidery hoop can become a limitation. Even with a large hoop, you often cannot embroider the entire piece in one go.
The solution is to embroider the lace in sections and join FSL pieces directly in the embroidery hoop.
In this tutorial, I’ll show you how to join two pieces of freestanding lace (FSL) so that the connection becomes part of the embroidery itself.
Embroider the first piece
Start by embroidering the first section of your lace.
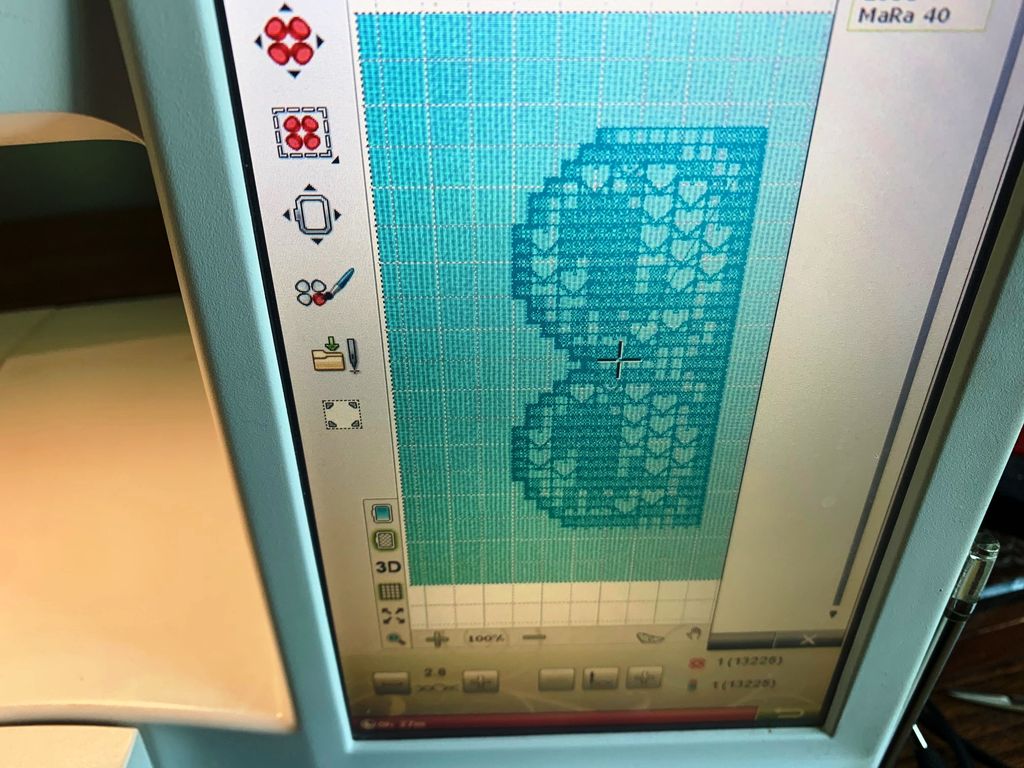
Remove it from the hoop and carefully trim away the excess water-soluble stabilizer.
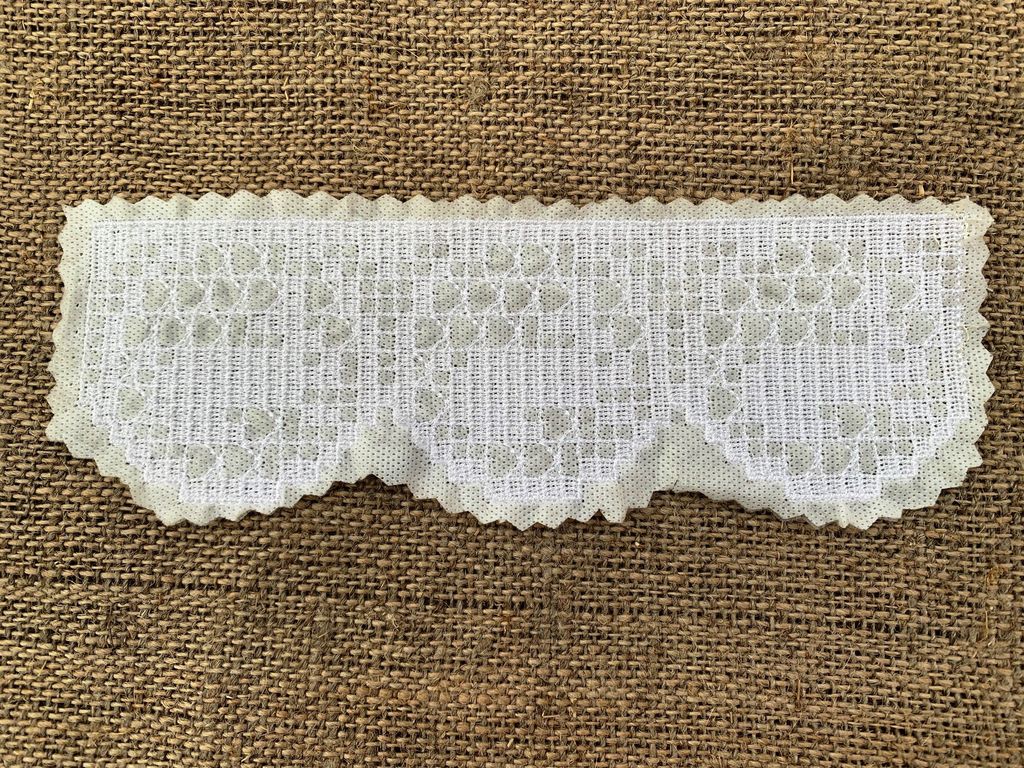
Prepare the next section
Hoop a new piece of water-soluble stabilizer.
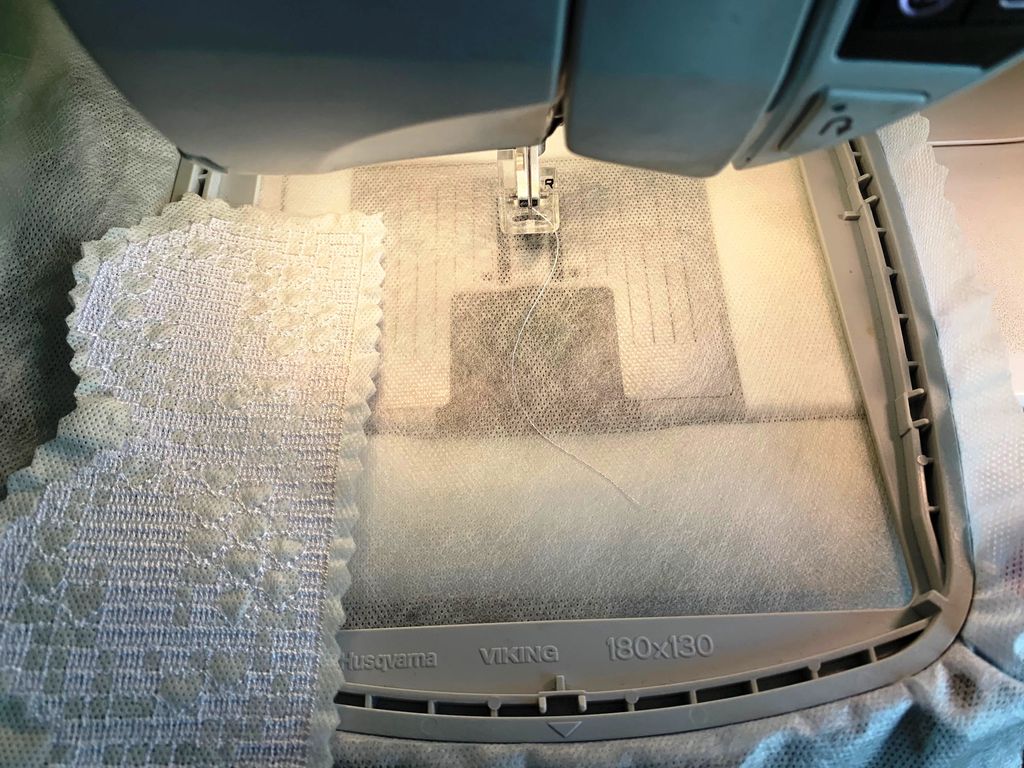
For FSL, I recommend using at least two layers of stabilizer. You can place the second layer on top of the first one and secure it with a few stitches around the edge.
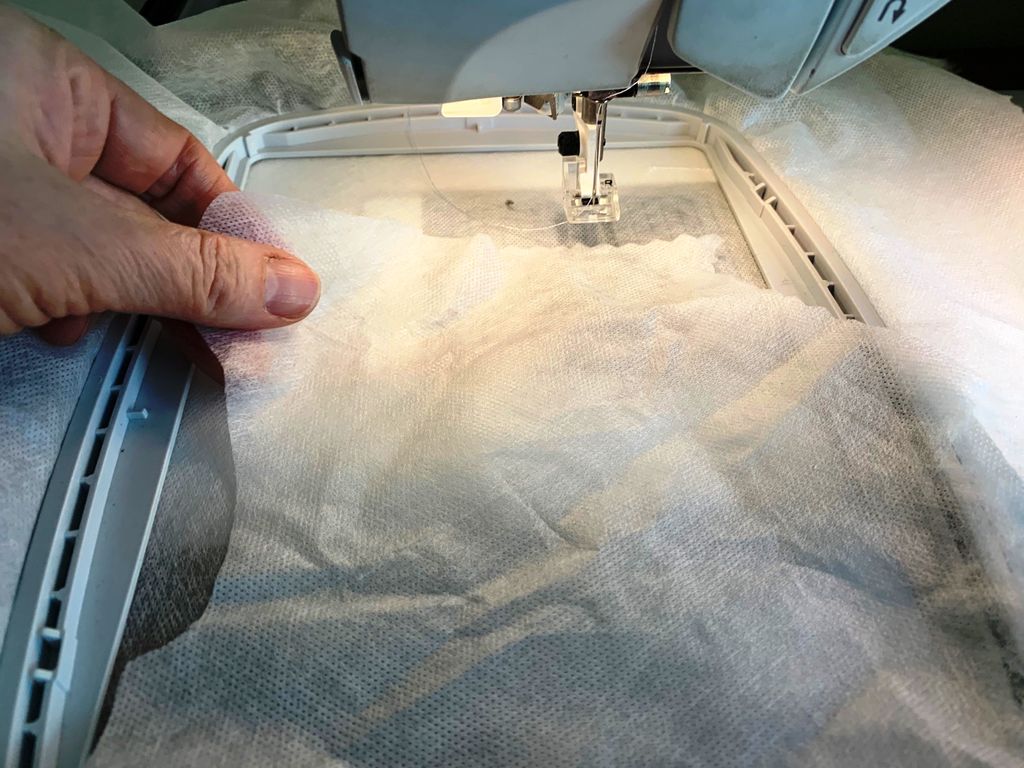
I often use a slightly different method: instead of placing the second layer on top, I put it underneath the main layer that is hooped.
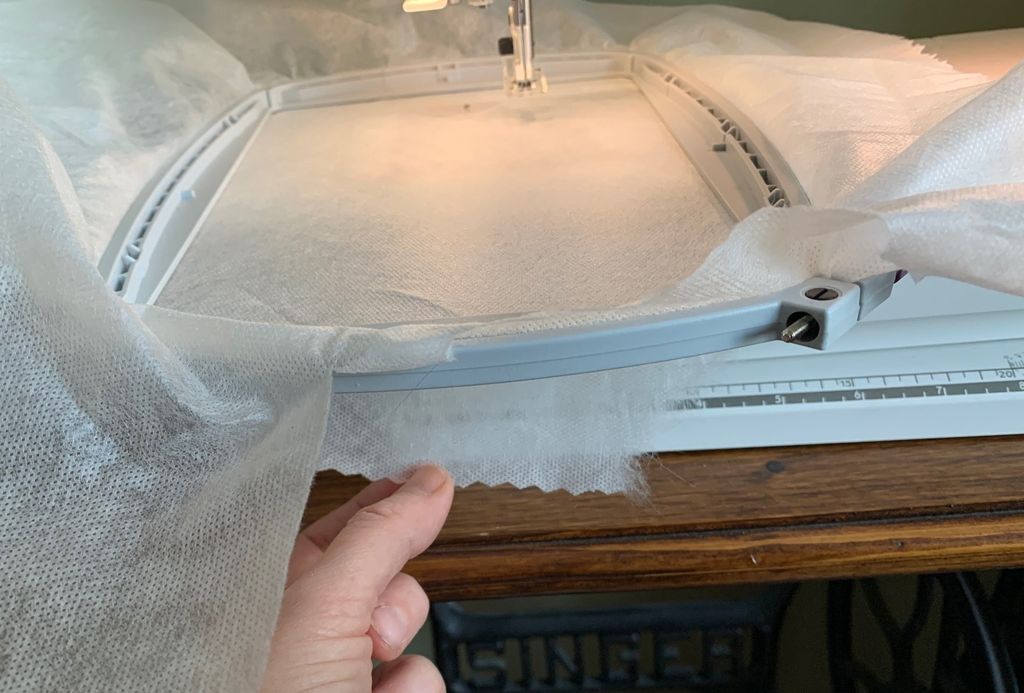
Choose whichever method works best with your stabilizer and embroidery setup.
Stitch the first alignment line
Start the embroidery design and stitch the first line.
Then stop the machine.
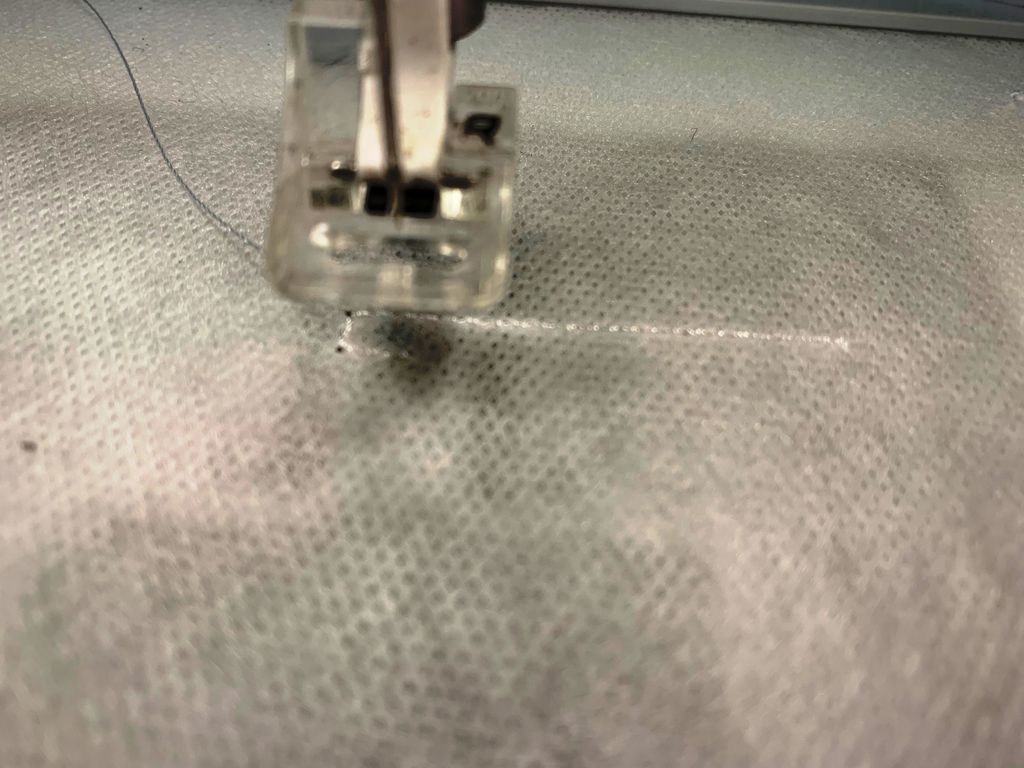
This first line will help you position the previously embroidered lace section accurately.
Trim the first lace piece
Trim the stabilizer from the edge of the first lace piece, leaving only about 2–3 mm (approximately 0.1 in).
Trim as close to the edge as you can without cutting into the embroidery.
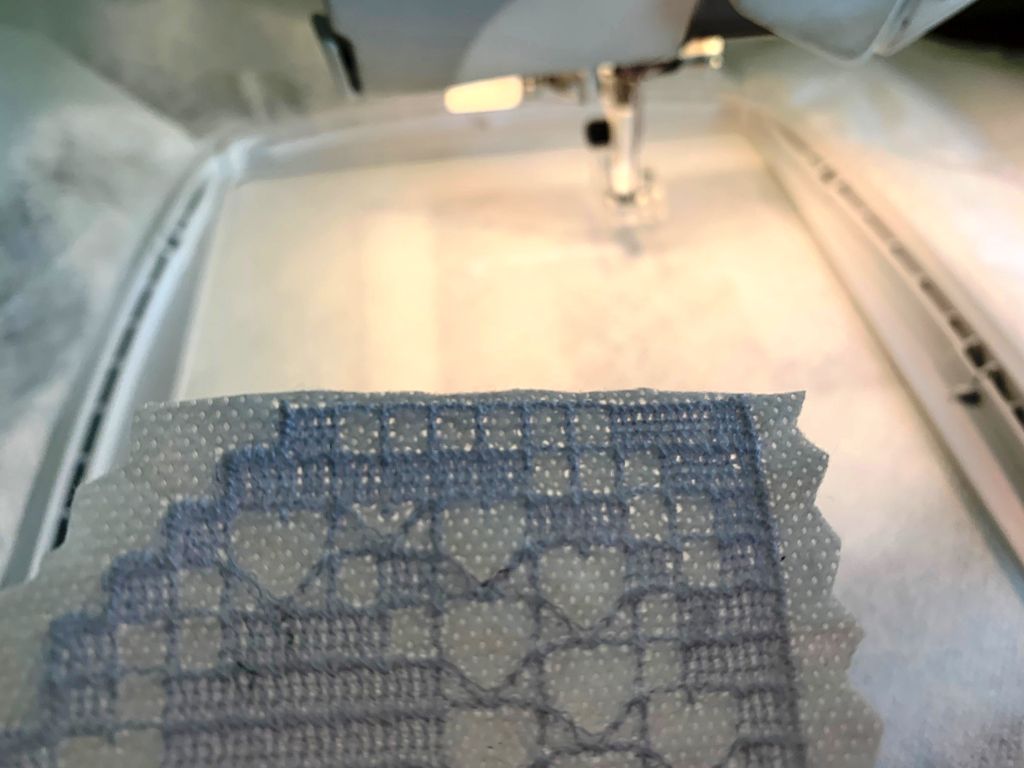
If you wish, you can apply a very small amount of fabric glue to the wrong side of this edge. I use the glue shown in the photo, but any glue suitable for fabric can be used.
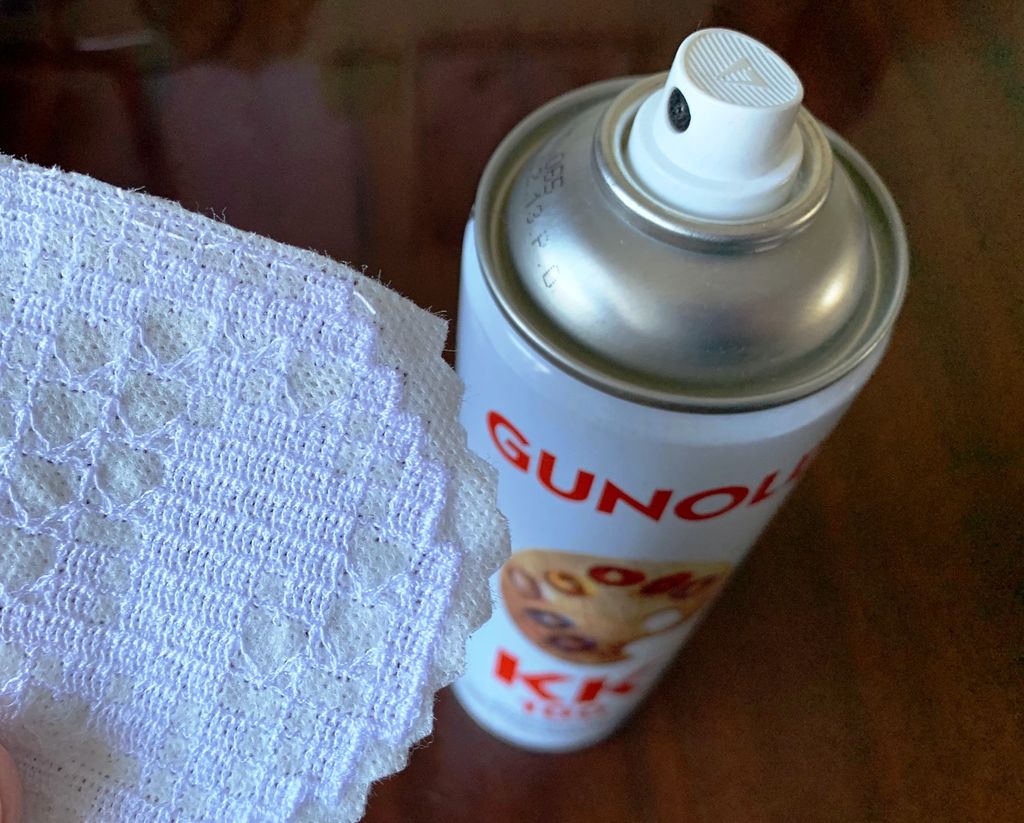
The glue is only used to hold the lace temporarily in position while you make the connection.
Position the first lace piece
Place the corner of the first lace section exactly where the new embroidery line begins.
Carefully align the corresponding lines of the two sections, then press the lace lightly into place.
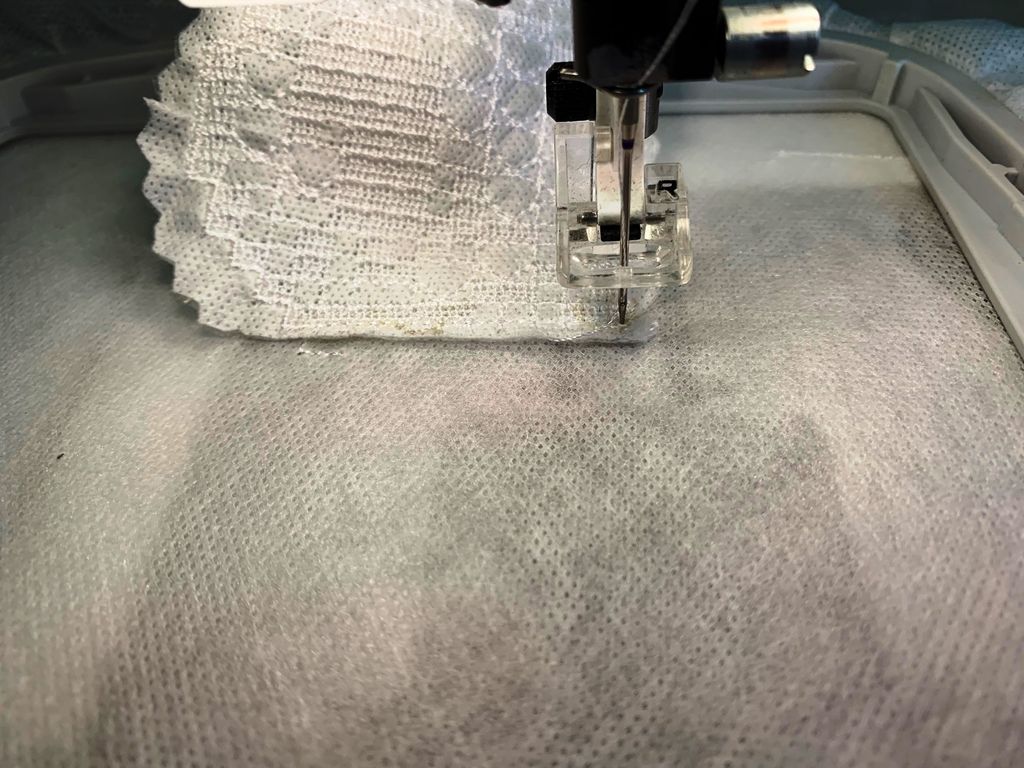
Take your time with this step. Accurate alignment is the key to making the join look neat and continuous.
Join the lace
Now start the embroidery again, slowly.
Watch the needle and the connection point carefully to make sure the lines of the existing lace and the new embroidery stay aligned.
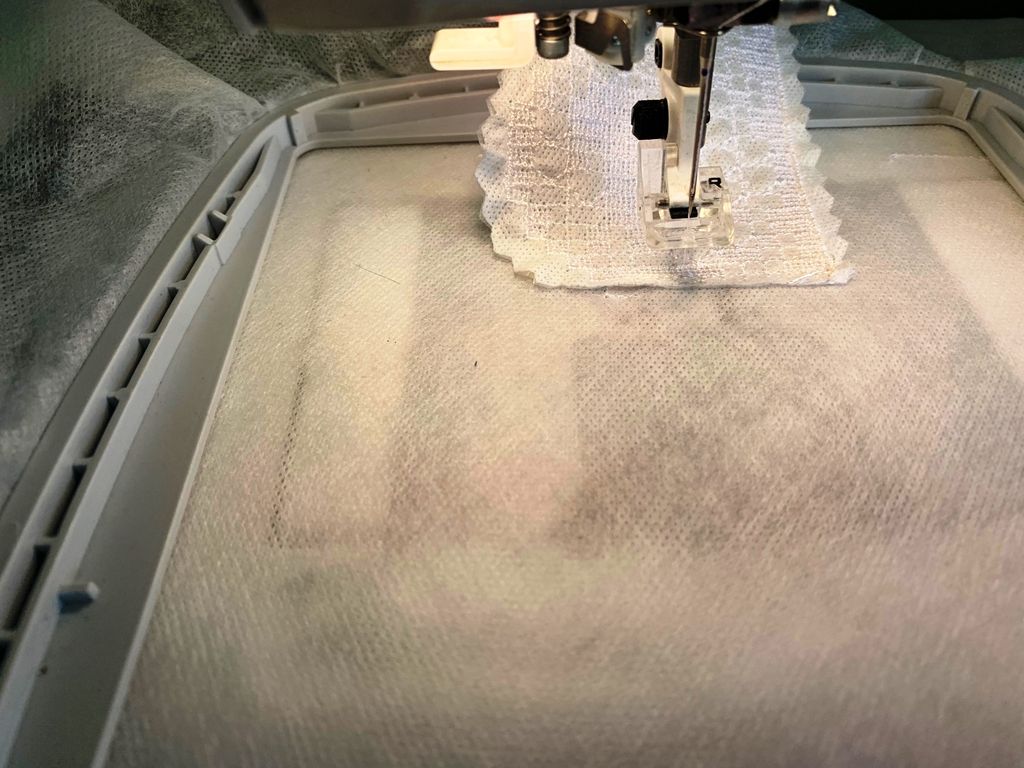
If everything is aligned correctly, allow the machine to continue stitching the rest of the design.
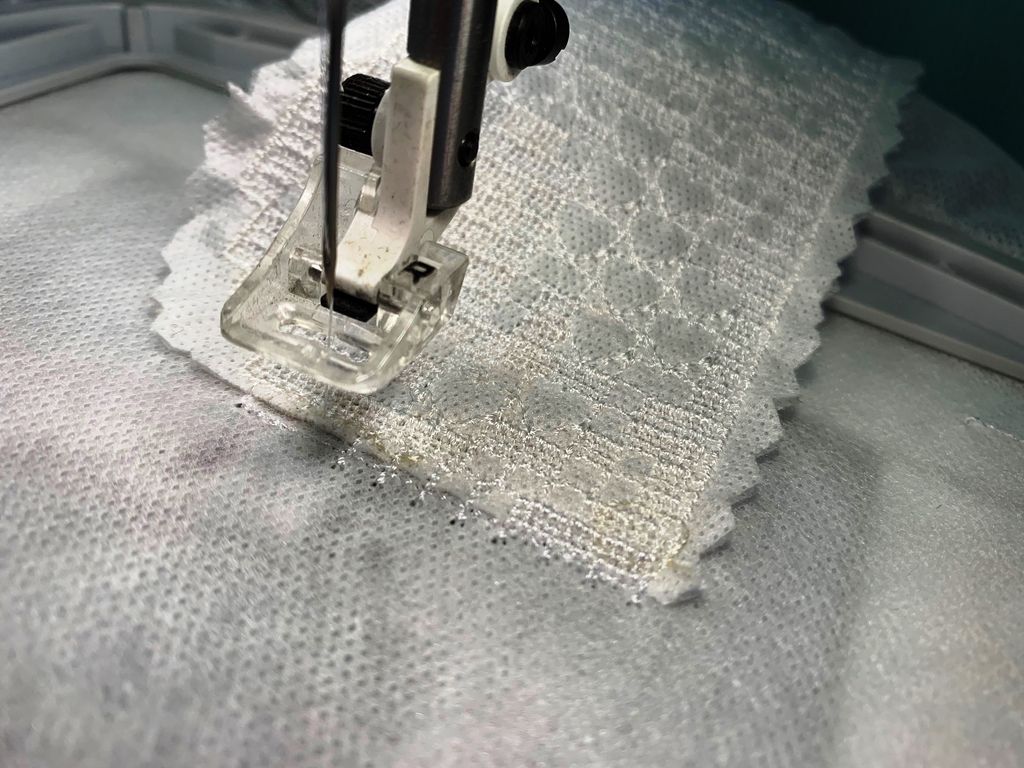
Once the embroidery is complete, the joined sections should form one continuous piece of lace.
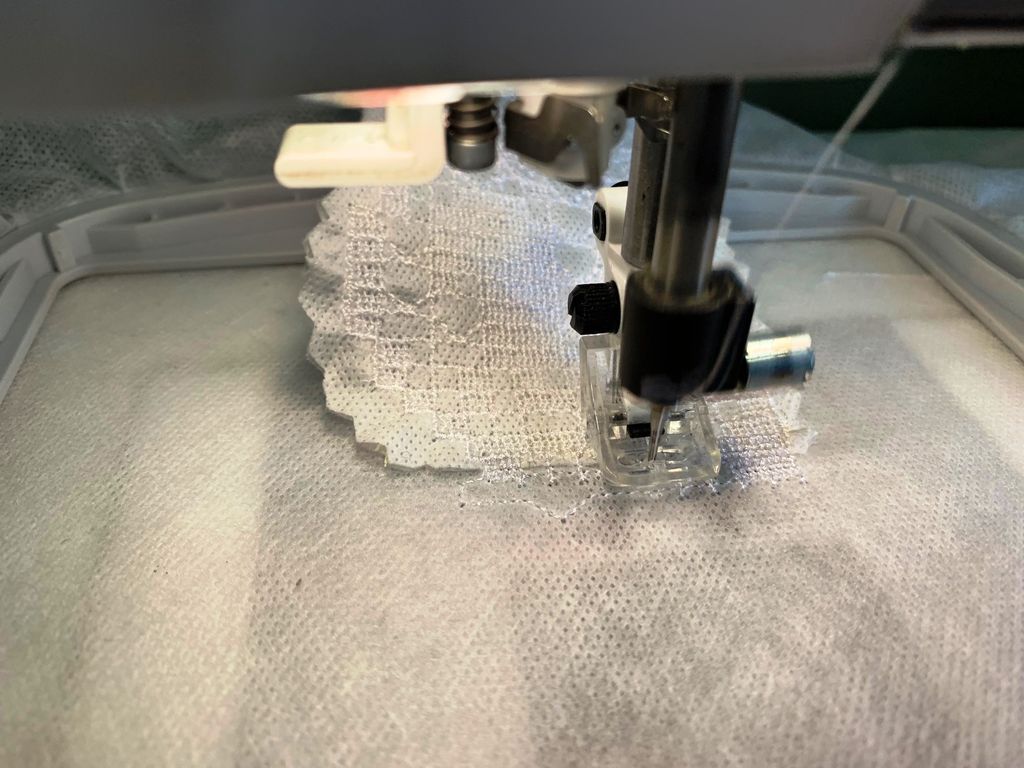
If the sections were aligned correctly, the connection should be secure and blend naturally into the lace.
Washing out the stabilizer
When you are ready to remove the water-soluble stabilizer, do this carefully.
Pay particular attention to the joined area and avoid handling the seam more than necessary while the stabilizer is dissolving.
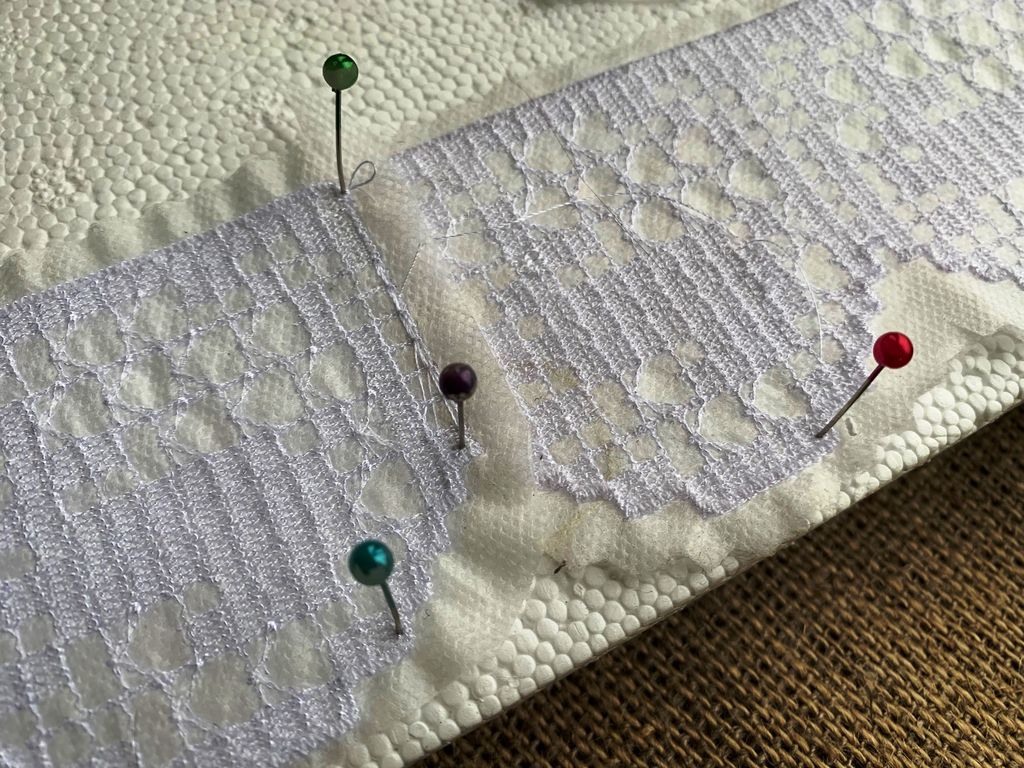
Once the stabilizer has completely dissolved and the lace has dried, the finished piece is ready to use.
An alternative way to join FSL
If you are not confident that you can align and join the lace neatly in the embroidery hoop, there is another option.
You can embroider the two FSL sections separately and join them afterward using a zigzag stitch on a sewing machine.
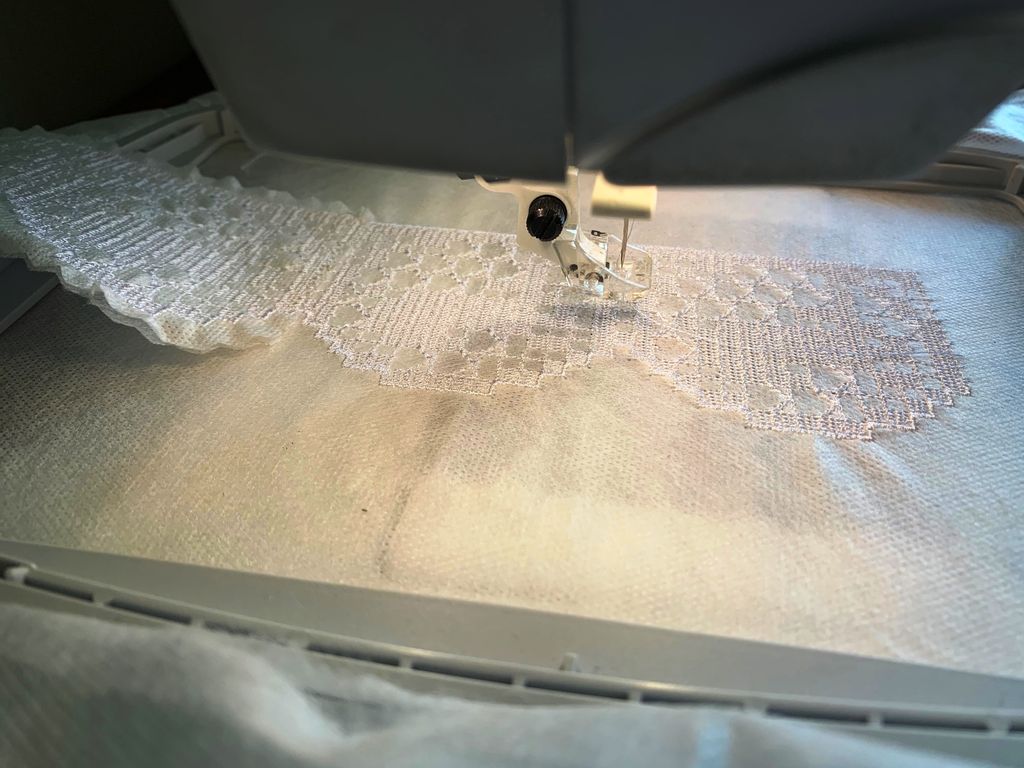
However, there is one important detail:
The pieces must be joined before you wash away the water-soluble stabilizer.
Once the stabilizer has been removed, the lace may no longer have enough structure to make this type of seam easily.
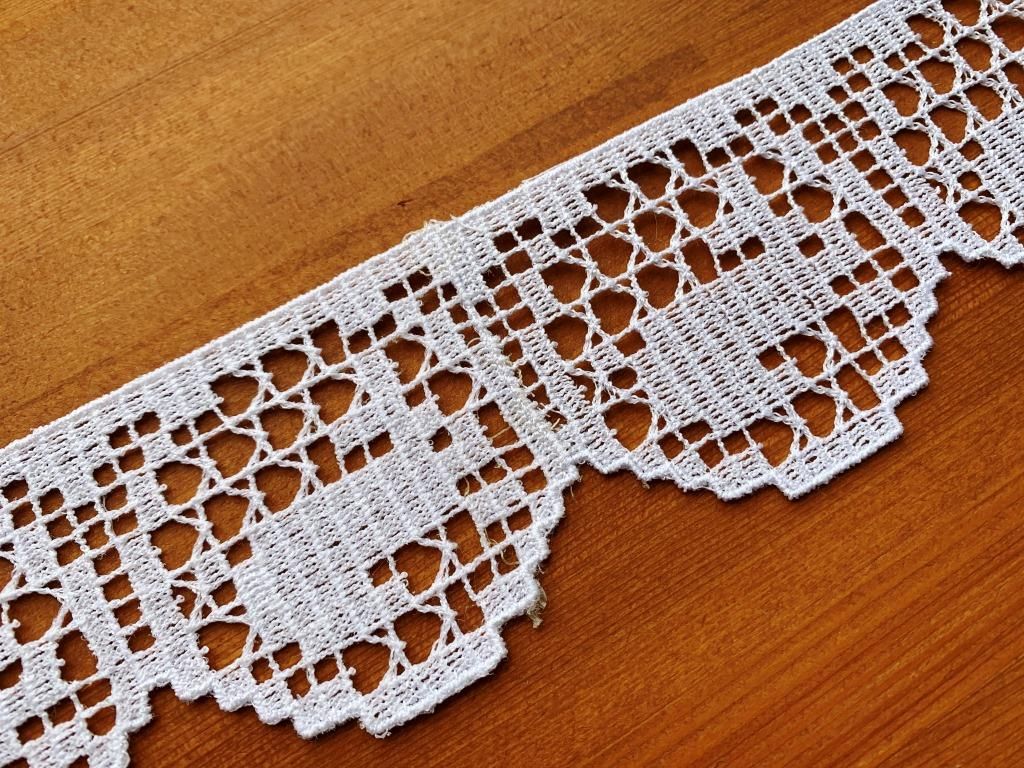
A small tip from the TP Studio
When joining FSL, do not rush the alignment step. A few extra seconds spent matching the embroidery lines can make a significant difference to the finished lace.