
Choosing the right stabilizer, topper & needle for machine embroidery
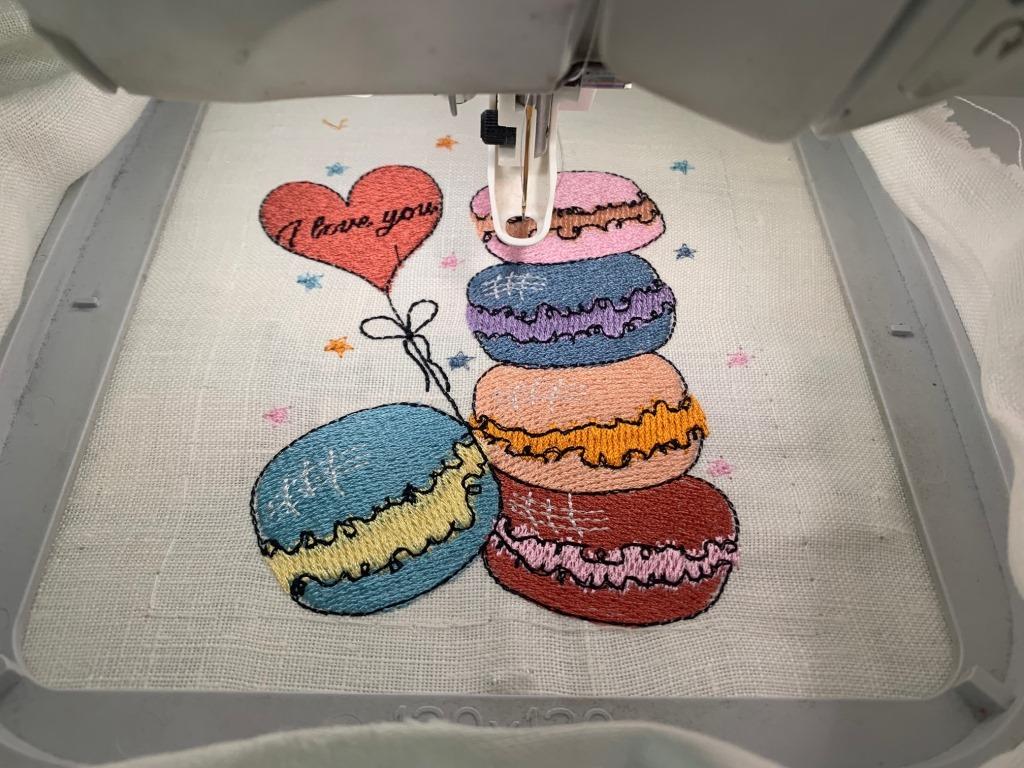
Choosing the right stabilizer and needle can make a surprisingly big difference in machine embroidery.
The same design can behave very differently on a T-shirt, a towel, denim or a delicate woven fabric. Stretch, texture, thickness and fabric structure all affect how the stitches settle – and sometimes a topper is just as important as the stabilizer underneath.
There is no single combination that works for every project. The recommendations below are a useful starting point for some of the fabrics you are most likely to encounter.
And, as always with machine embroidery: test on a scrap of the actual fabric whenever possible.
—
T-Shirts & Stretchy Knits
Knit fabrics are flexible by nature, which is exactly what makes them comfortable to wear – and a little more challenging to embroider.
Stabilizer
For jersey, activewear knits and similar stretchy fabrics, a soft mesh cut-away stabilizer is a good choice. It supports the embroidery while allowing the fabric to retain some of its natural movement.
For additional stability, especially with a denser design, you can fuse a layer of fusible mesh cut-away stabilizer to the wrong side of the fabric before hooping.
Topper
A water-soluble topper can be useful on textured knits such as waffle knit or piqué. It helps keep the embroidery from disappearing into the texture of the fabric and gives the stitches a cleaner surface to work on.
Needle
For lightweight T-shirts, try a 75/11 ballpoint needle.
For heavier knits, such as polo or golf-shirt fabrics, an 80/12 ballpoint needle may be more appropriate.
The exact choice can vary depending on the fabric and thread, so consider these sizes a starting point rather than a rule.
—
Denim
Denim is strong and relatively stable, but its weight and twill structure can make embroidery behave differently from embroidery on ordinary woven cotton.
Stabilizer
Use a medium- to heavyweight cut-away stabilizer, depending on the weight of the denim and the density of your design.
For a dense or highly detailed design, a heavyweight stabilizer provides additional support.
Topper
The texture of denim can sometimes make fine embroidery details look less defined. A water-soluble topper can help create a smoother surface for stitching.
When embroidering a light-colored design on very dark denim, an opaque permanent topper can also be useful when you want to prevent the dark fabric from showing through the embroidery.
Needle
An 80/12 or 90/14 sharp embroidery needle is a good starting point.
Choose the size according to the weight of the denim. A sharp needle helps penetrate the fabric cleanly without unnecessary resistance.
—
Terry Cloth & Towels
Towels are a classic embroidery project — but those soft loops can be surprisingly good at getting in the way of your stitches.
Stabilizer
For terry cloth, use a medium- to heavyweight tear-away stabilizer to provide sufficient support during stitching.
Because towels are often used from both sides, you may want the stabilizer to disappear as much as possible after embroidery.
A tear-away stabilizer may leave some small remnants, which can be removed further during washing.
If you want to avoid stabilizer remnants altogether, you can also experiment with a heavyweight water-soluble stabilizer. Test it on a scrap first to make sure it provides enough support for your particular design.
One thing to watch for: pressure-sensitive adhesive stabilizers can catch on terry loops and may be difficult to remove cleanly.
Topper
A water-soluble topper is especially helpful on towels.
Place it over the fabric before embroidery and secure it around the hoop with painter’s tape if needed. The topper helps keep the terry loops from pushing up through the embroidery and interfering with the design.
Needle
An 80/12 sharp embroidery needle is a good starting point for terry cloth. The sharp point helps penetrate the loops cleanly.
—
Fleece
Fleece comes in many forms – from polar fleece to Cuddle fleece and ready-made blankets — but they all have one thing in common: a soft, flexible surface with a noticeable nap.
Stabilizer
For fleece, a soft mesh cut-away stabilizerworks well because it provides support without making the finished embroidery unnecessarily stiff.
Since fleece can stretch and is often washed frequently, the cut-away stabilizer also helps keep the embroidery stable over time.
For lightweight fleece, choose a lightweight cut-away stabilizer that follows the drape of the fabric. Matching the stabilizer color to the fleece can also help keep the back of the embroidery visually discreet.
Hoop the stabilizer and fleece together as one unit.
Topper
A water-soluble topper can help prevent the fleece nap from pushing through the embroidery.
Place it over the hooped fabric and secure it with painter’s tape around the edges of the hoop.
Needle
For knit fleece, try an 80/12 ballpoint embroidery needle.
Avoid using a universal needle simply because it is convenient. Its sharper point can catch the knitted structure of the fleece and potentially leave unwanted holes.
—
Fine & Sheer Fabrics
Lightweight fabrics such as batiste, organza and other sheers require a different approach.
The goal is to support the embroidery without making the stabilizer more noticeable than the fabric itself.
Stabilizer
A water-soluble stabilizer can be useful for some sheer projects because it can be removed after stitching.
For denser designs, a mesh stabilizer may provide additional support while remaining relatively lightweight.
A transparent stabilizer can also be helpful when precise design placement is important because it allows you to see the fabric and markings underneath.
Needle
For most fine fabrics, start with a 70/10 sharp needle.
For particularly delicate fabrics, a 65/9 needle may be a better choice.
The smaller needle creates a smaller entry point and can help reduce unnecessary damage to delicate fabric.
—
Woven Fabrics
Woven fabrics are generally the easiest place to start, but even here, stabilizer choice should depend on both the fabric and the design.
Stabilizer
A useful rule of thumb is to match the stabilizer weight to the fabric weight and the density of the embroidery.
For quilting cotton, chambray and lighter- to medium-weight linen, a light- to medium-weight tear-away stabilizer is often a good starting point.
A denser design may need additional support, so a medium-weight stabilizer can be more appropriate.
For delicate redwork and other lightweight, low-density embroidery, avoid using more stabilizer than necessary. A very heavy stabilizer can change the feel and drape of an otherwise lightweight fabric.
—
A Simple Way to Choose
If you are standing in front of your embroidery machine wondering “Which stabilizer should I use for this?”, start with three questions:
1. Does the fabric stretch?
If yes, think about a cut-away stabilizer that can provide lasting support.
2. Does the fabric have a raised or textured surface?
If yes, consider a water-soluble topper to keep the texture from interfering with the embroidery.
3. How dense is the design?
The denser the embroidery, the more support the fabric generally needs.
Then consider the needle.
A heavier fabric usually needs a stronger, larger needle, while a delicate fabric benefits from a smaller needle. Knits often work better with a ballpoint needle, while woven fabrics such as denim generally call for a sharp needle.
The Best Combination Is the One That Works for Your Fabric
Stabilizer guides can give you a good starting point, but embroidery is not quite as predictable as a recipe.
Two fabrics that look almost identical can behave differently under the needle. The same is true for different embroidery designs: a light line-art design and a dense Photo Stitch design can have completely different stabilization requirements even when stitched on the same fabric.
That’s why I always recommend testing when you can.
Use a scrap of the actual fabric, stitch a small section of the design, and see how the fabric behaves. Check the front and the back, look at the stitch coverage, and pay attention to puckering, distortion and unnecessary needle marks.
A few minutes of testing can save you a lot of frustration later.
The goal isn’t to use the most stabilizer possible. It’s to give the fabric exactly the support the embroidery needs.