
How to embroider Photo Stitch designs divided into parts

Photo Stitch is a beautiful and fascinating machine embroidery technique that creates a realistic, painterly effect by layering stitches in different colors and shades.
The finished embroidery has a very high stitch density. The process is somewhat similar to an artist building an image with individual strokes of color, gradually creating depth, shading, and detail.
Because of this high density, Photo Stitch designs are generally not suitable for lightweight fabrics such as T-shirts. However, they can be used to create remarkably realistic portraits, artwork, patches, bags, and other textile projects.
Photo Stitch designs also tend to require a relatively large embroidery area. If the design is too small, the fine detail and tonal transitions may not look their best.
For this reason, larger designs can be divided into several sections so they can be embroidered using a smaller home embroidery hoop.
In this tutorial, I’ll show you how to embroider a Photo Stitch design divided into two parts.
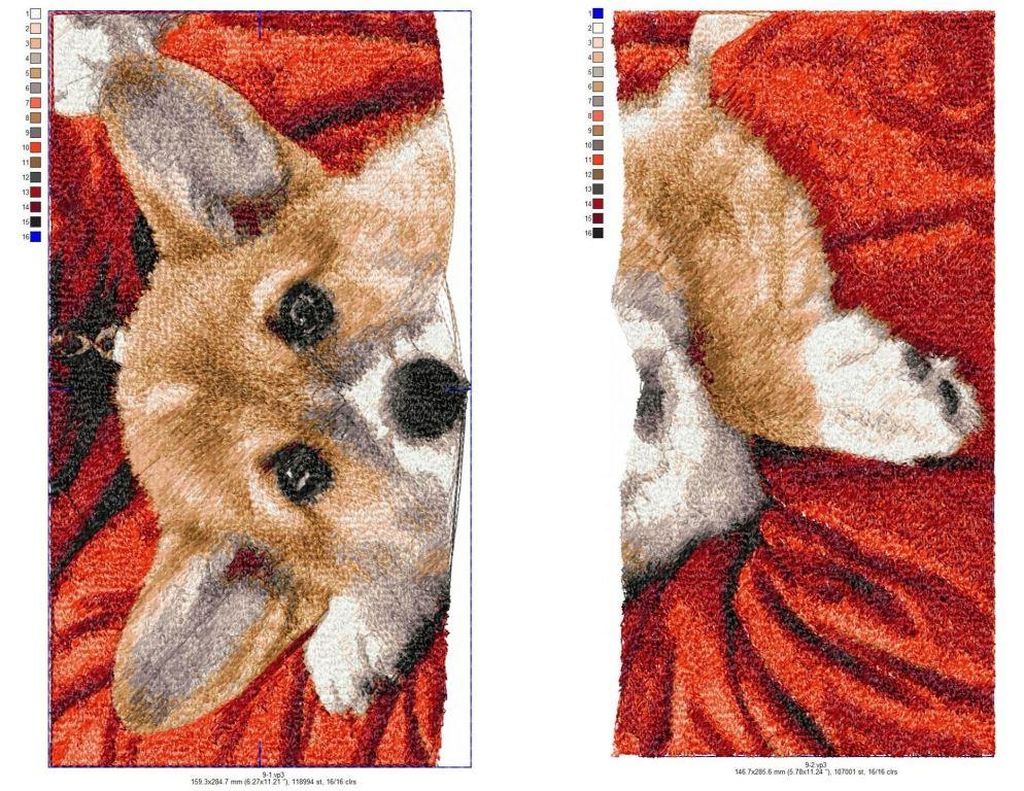
You can find this Corgi Portrait HERE
What You’ll Need
Base Fabric
Choose a fabric with a natural structure as your base fabric. This can help reduce the slightly raised or uneven feel of dense embroidery, which can often be improved with careful pressing.
The fabric does not have to be white. A neutral-colored fabric can work just as well.
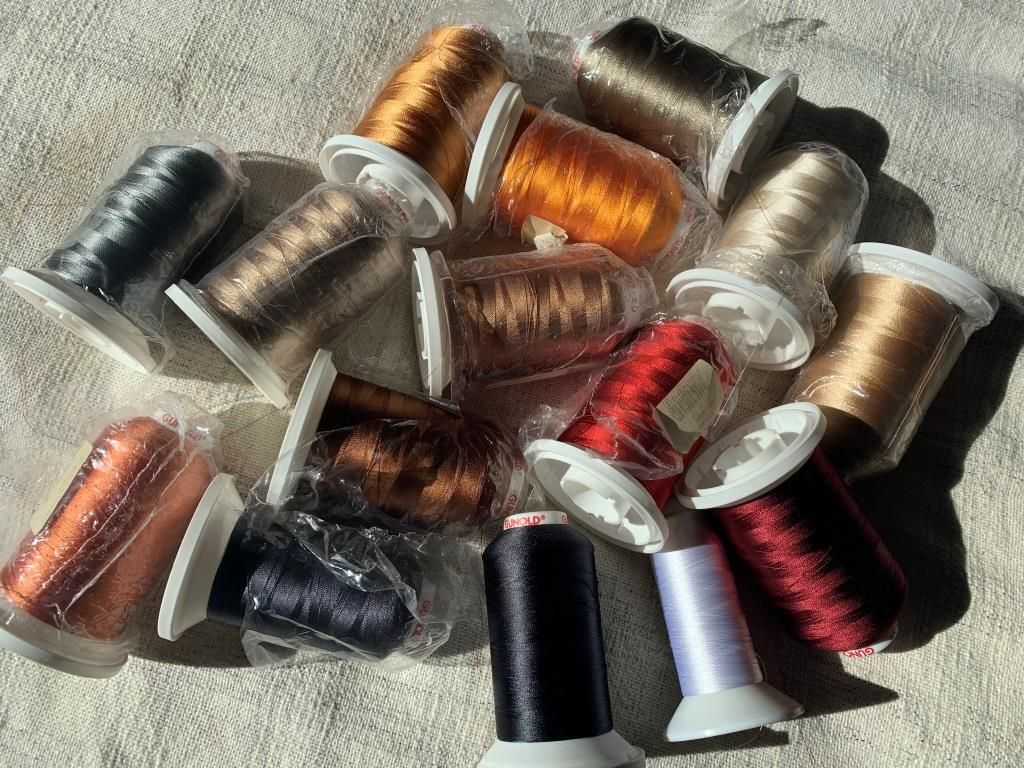
Embroidery Thread
Photo Stitch designs can require many thread colors, often with several shades that are very close to one another. Choosing the right colors is therefore an important part of the process.
A good design should include a thread color chart with color names or thread numbers. Use the chart as a guide and select the closest matches from the thread collection you have available.
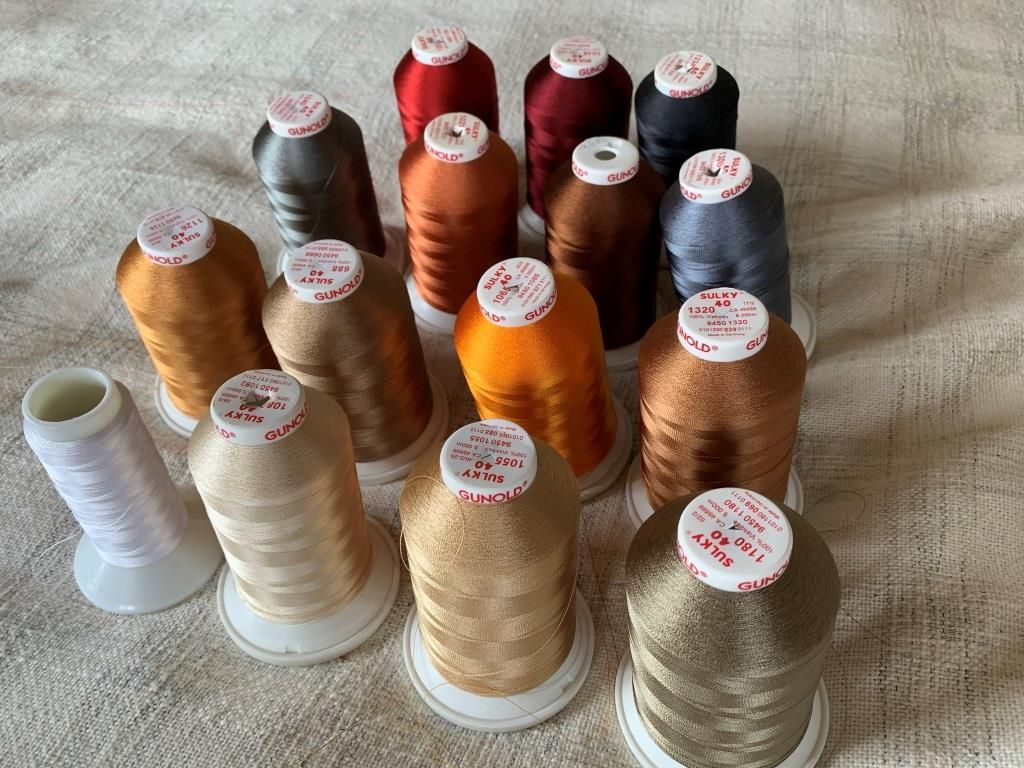
Whenever possible, choose your thread colors in natural daylight. Take your time with this step, even if it takes longer than expected.
The right color selection can make a significant difference to the finished Photo Stitch embroidery.
Stabilizer
Photo Stitch designs have a very high stitch density, so good stabilization is essential.
Different types of stabilizer can be used, including tear-away embroidery stabilizer, sewing interfacing such as dublerin, and even printer paper. The important thing is to make sure that the fabric is stabilized well enough to support the dense embroidery.
For this project, I use tear-away stabilizer.
Hoop the fabric together with the stabilizer and load the Photo Stitch design into your embroidery machine.
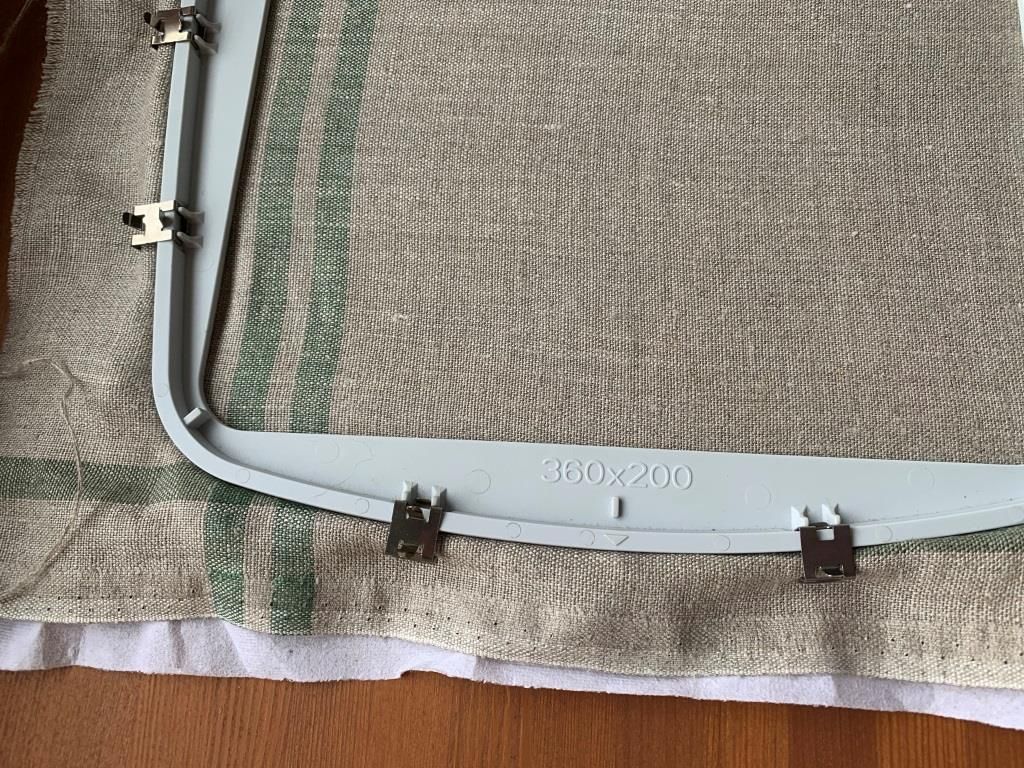
How to Embroider a Photo Stitch Design Divided into Parts
If your design consists of several parts, always embroider them in the order indicated in the design files.
Step 1: Embroider the First Part
Start by embroidering Part 1 as usual.
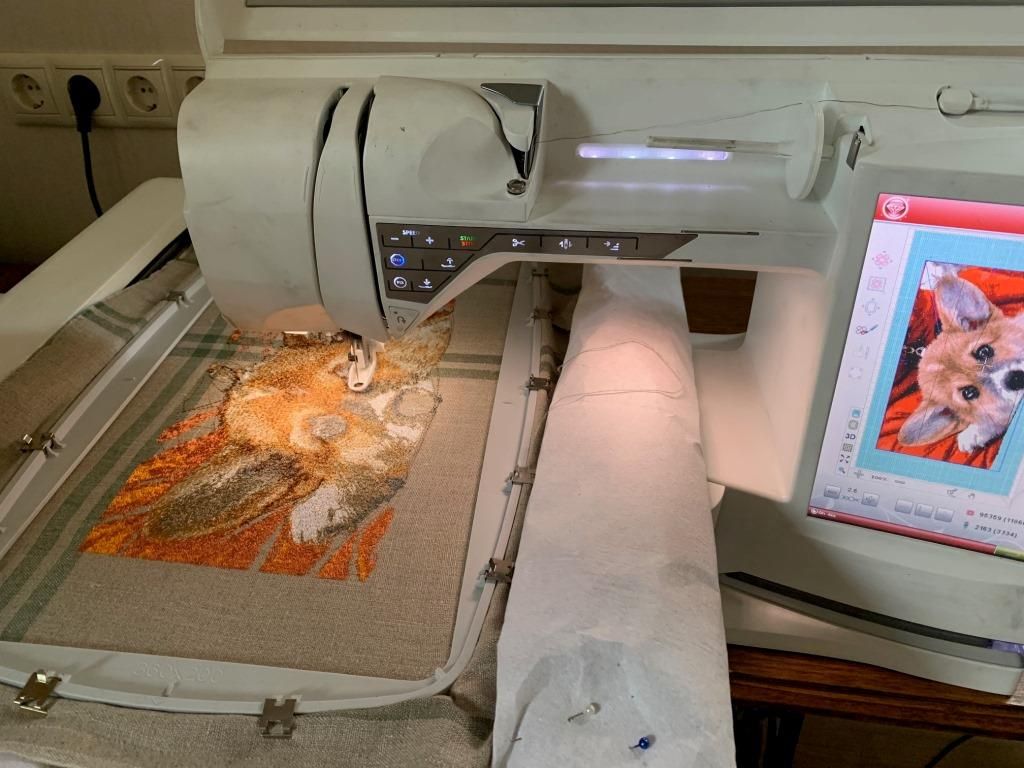
In my designs, the connecting line is stitched last and is shown in bright blue in the color sequence.
Do not use a bright thread for this line. Choose a thread color that will not be noticeable through the embroidery of the next section.
Step 2: Mark the Hoop Position
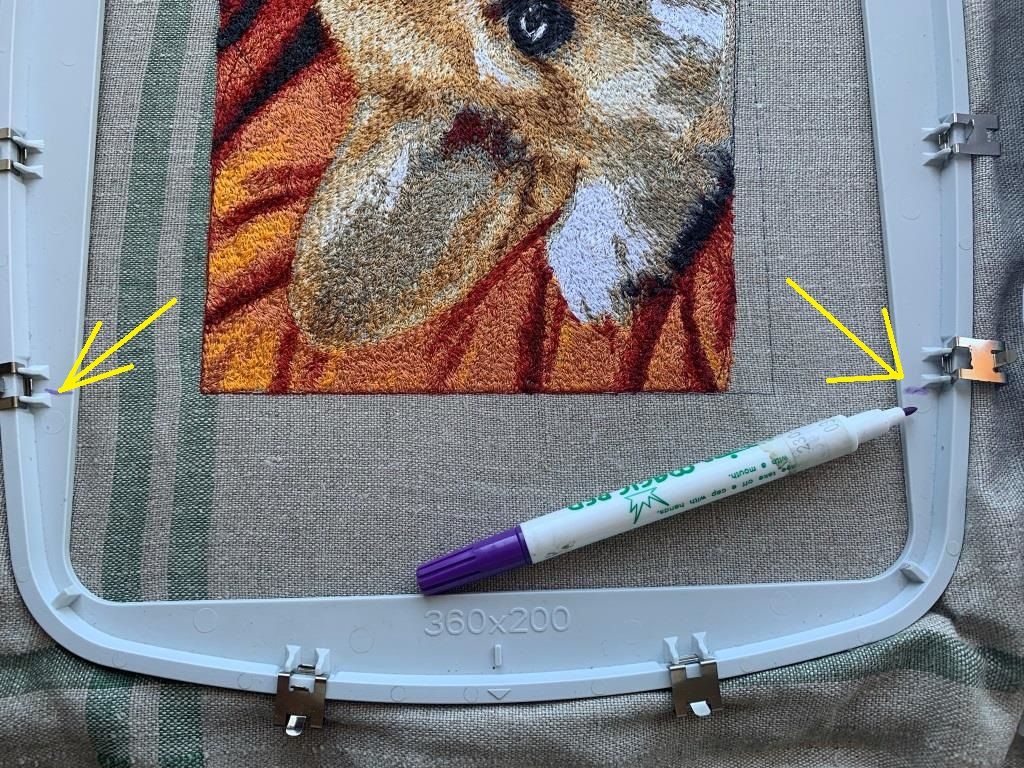
Once the first part is finished, draw small marks on both sides of the hoop using a pencil or water-soluble fabric marker.
These marks indicate the position and height of the embroidered area and will help you position the fabric correctly when hooping the second section.
Step 3: Remove and Prepare the Fabric
Unhoop the fabric and remove the excess stabilizer.
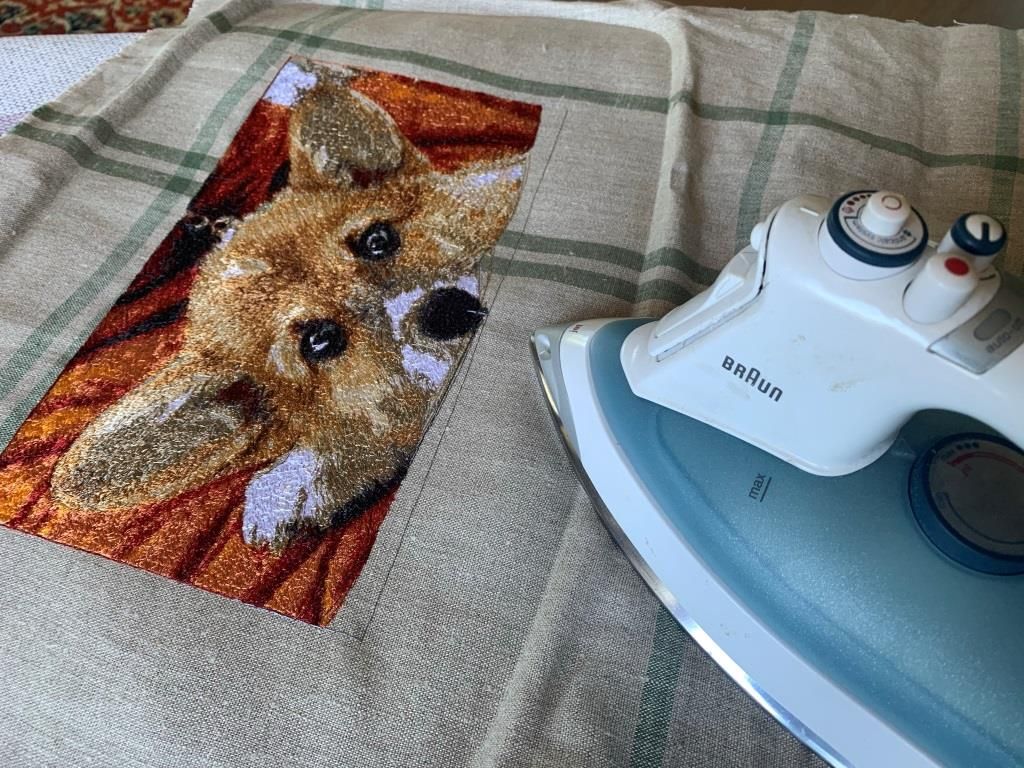
Carefully press the embroidered piece.
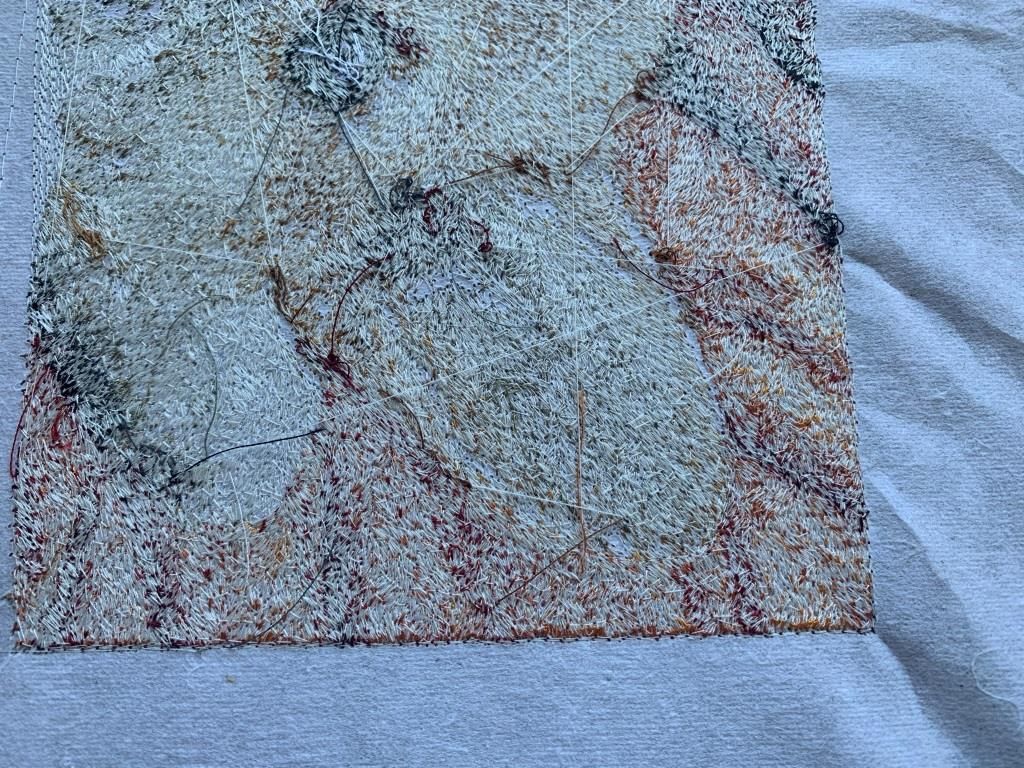
There is no need to trim the jump stitches on the wrong side. However, if you prefer a cleaner back, you can carefully trim them using small embroidery scissors.
Step 4: Rehoop the Fabric for Part 2
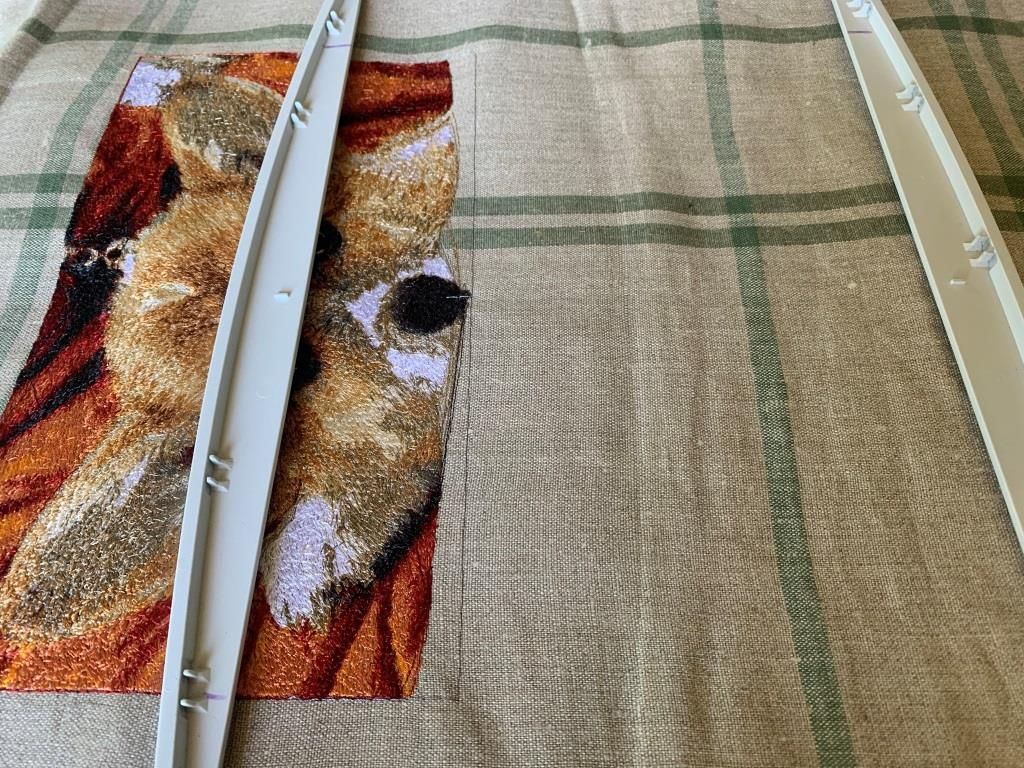
Move the fabric and hoop it again using the marks you made in the previous step.
The goal is to position the fabric so that the second section connects precisely with the first one.
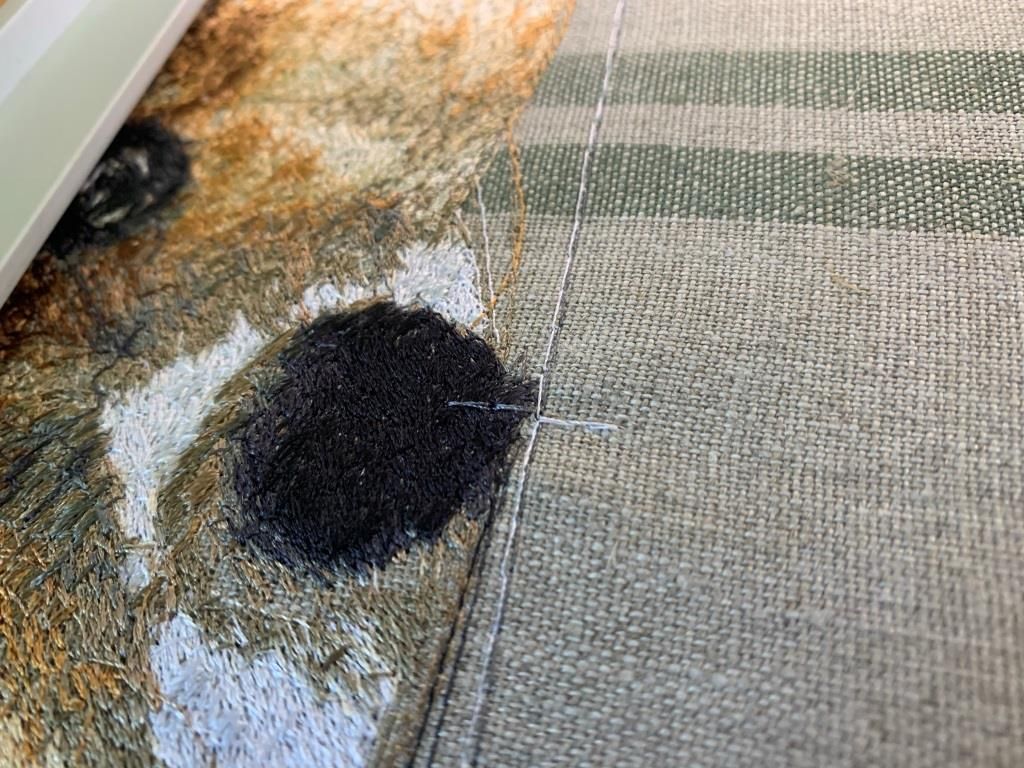
Step 5: Check the Connecting Line
The second section begins with the connecting line.
This line must match the corresponding line from Part 1 as precisely as possible.
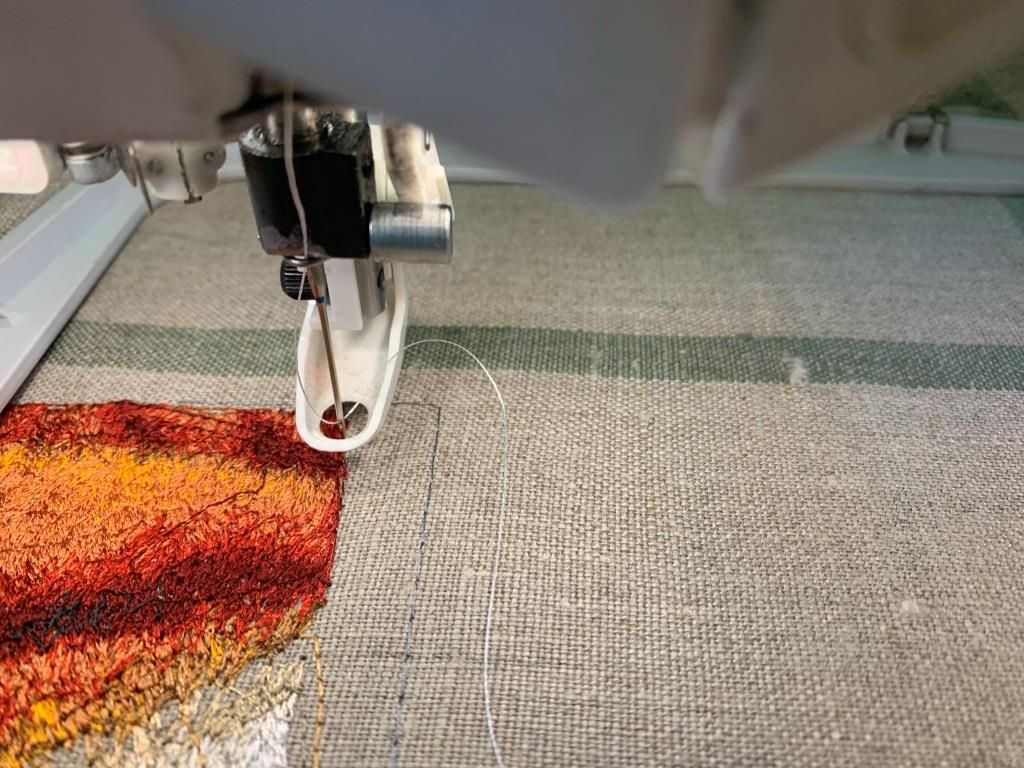
If the lines do not match, use the positioning controls on your embroidery machine to move the design left, right, up, or down until the two lines are aligned.
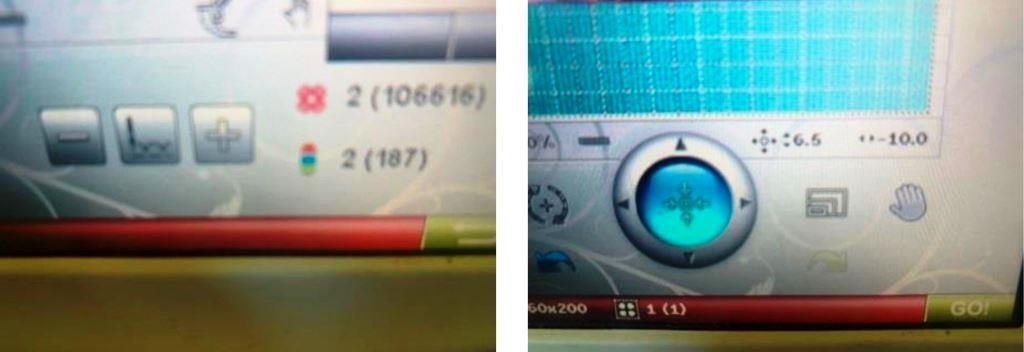
Take your time with this step. The accuracy of this alignment determines how smoothly the two sections will connect.
If you are concerned that the fabric may not be stabilized firmly enough, you can move the connecting line 1–2 mm closer to the first embroidered section.
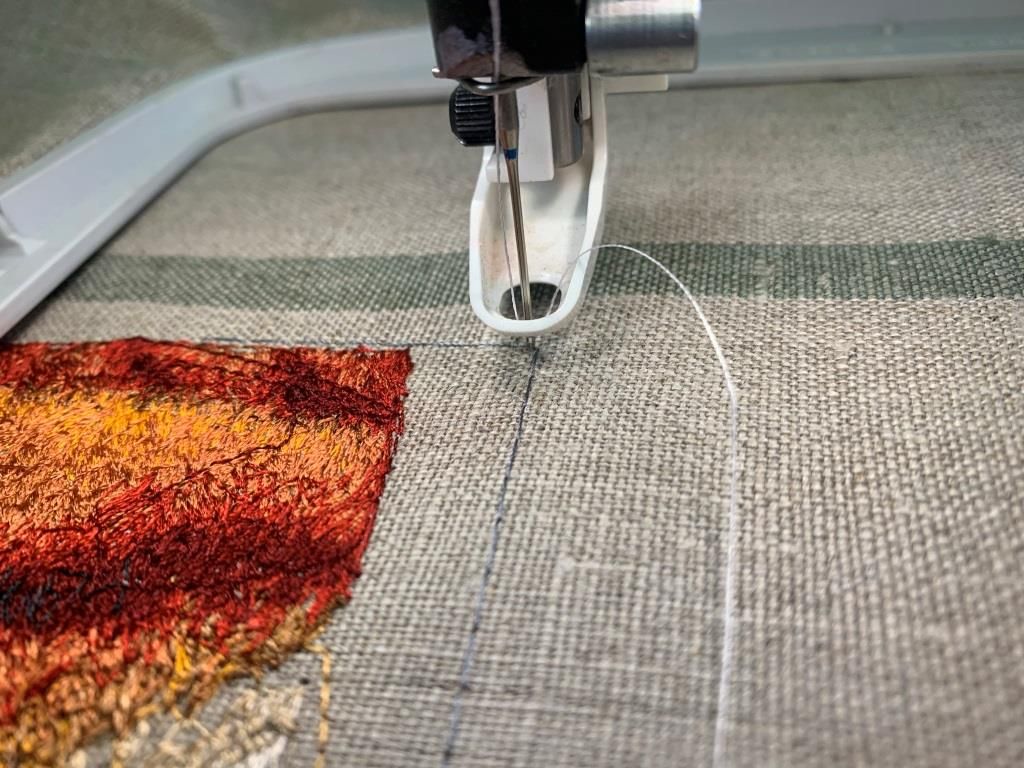
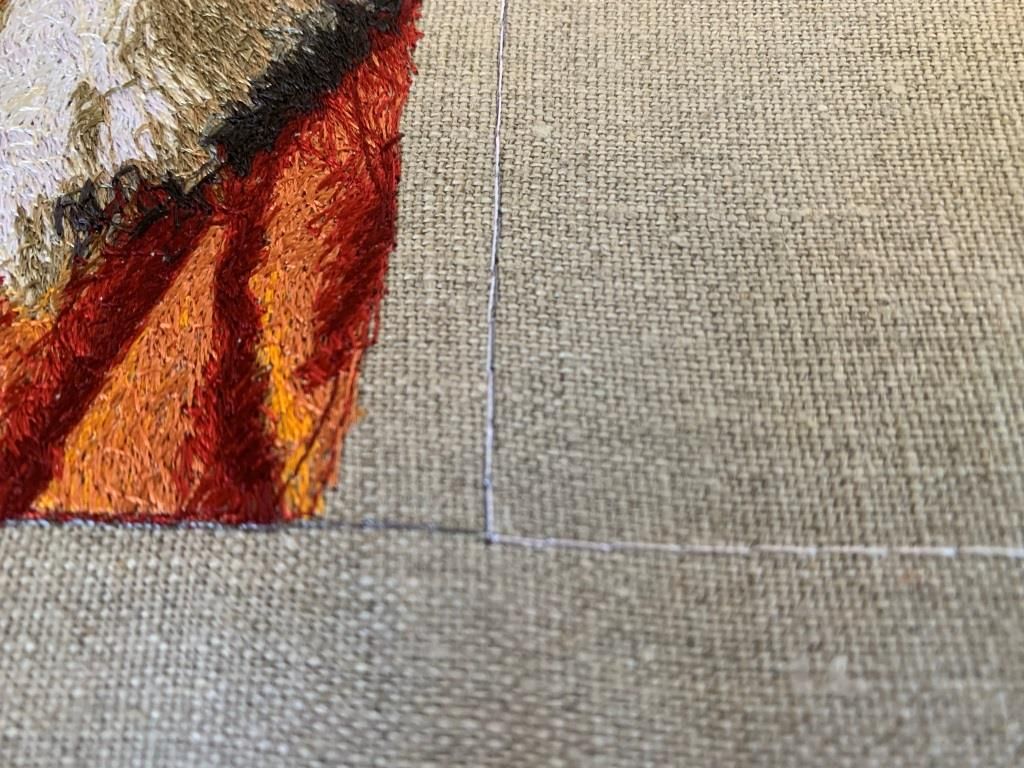
Step 6: Embroider Part 2
Once you are satisfied with the alignment, embroider Part 2 according to the thread color chart.
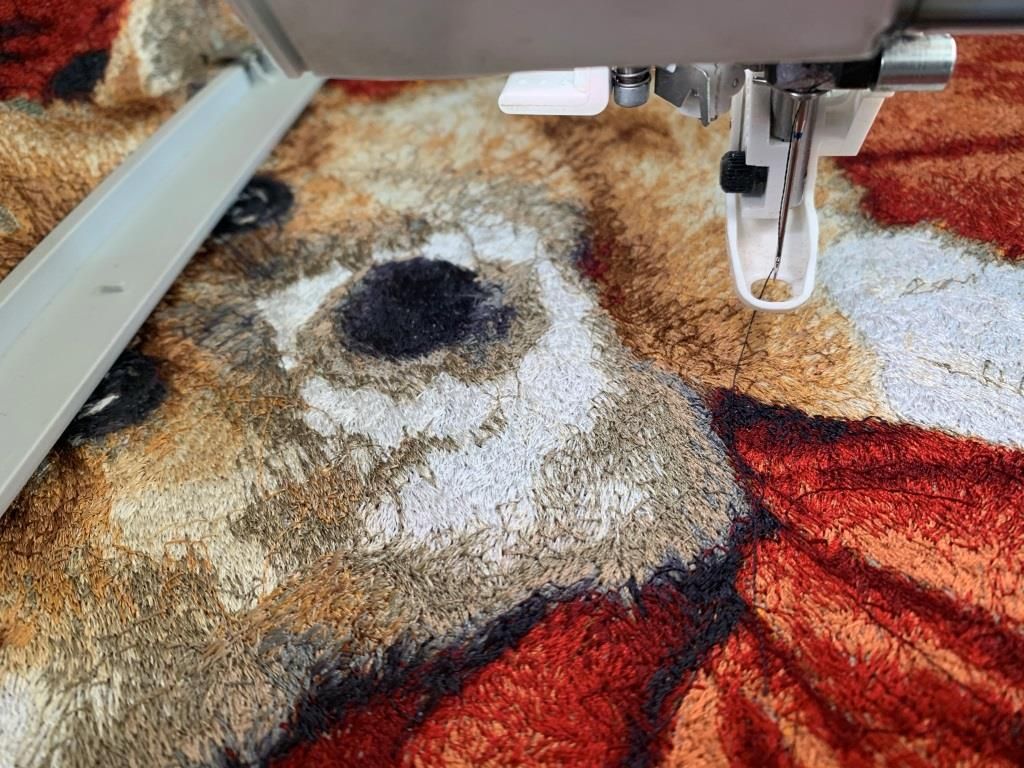
Watch the beginning of the embroidery carefully to make sure the connection remains properly aligned.
Continue stitching the rest of the design according to the color sequence.
Step 7: Finish the Embroidery
When Part 2 is complete, unhoop the fabric, remove the excess stabilizer, and carefully press the finished embroidery.
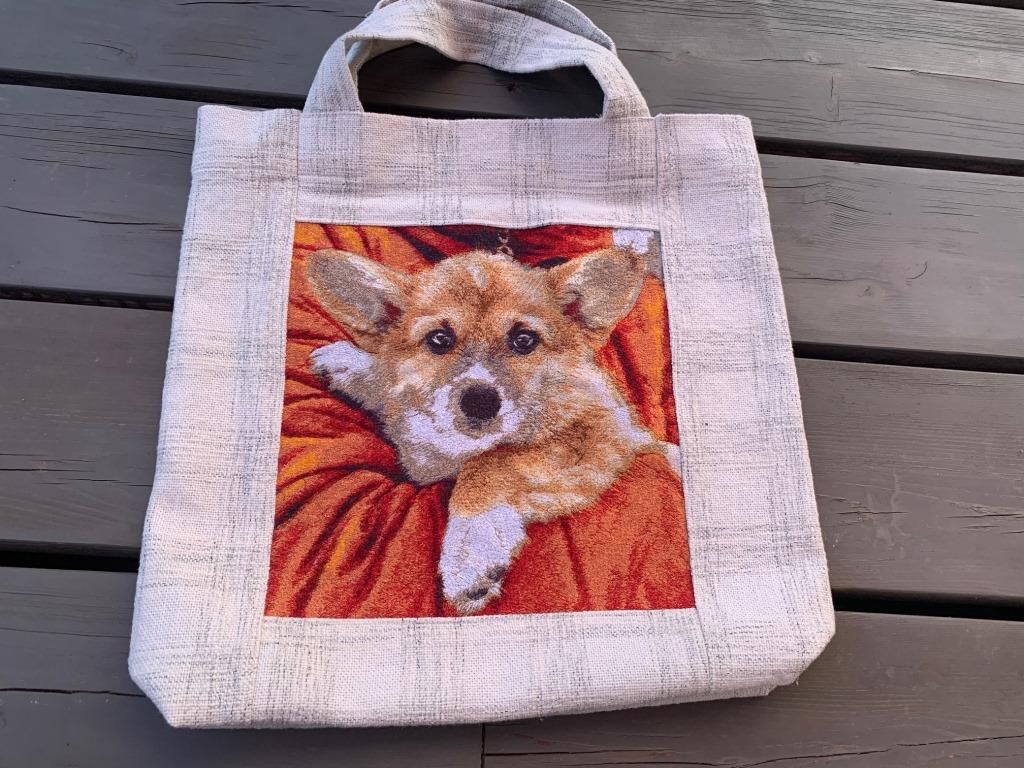
The result is one continuous Photo Stitch design created from two separately embroidered sections.
For this project, I used the finished Corgi Portrait to make a bag for my sister, who is a Corgi mom.
A Few Things to Keep in Mind
When embroidering a Photo Stitch design divided into several sections:
– Always embroider the sections in the specified order.
– Use good stabilization — Photo Stitch embroidery is very dense.
– Choose thread colors carefully, preferably in natural daylight.
– Take your time when positioning the second section.
– Check the connecting line before starting the main embroidery of the next section.
With careful hooping and alignment, a large Photo Stitch design can be embroidered successfully even when your embroidery machine has a smaller hoop.